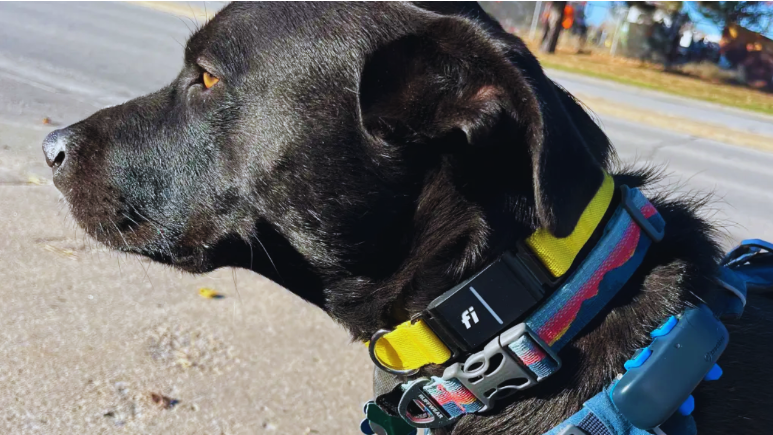
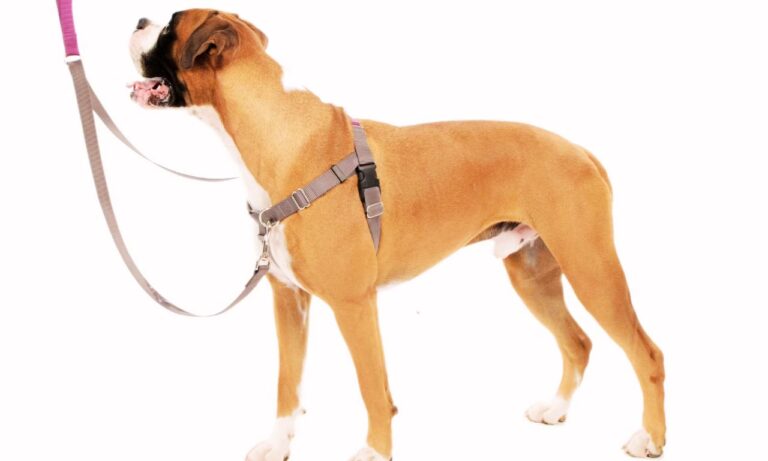
Training your dog effectively requires the right tools, and one of the most popular tools for dog owners is the SportDog Training Collar. These collars are designed to enhance communication between you and your dog, offering various stimulation levels such as sound, vibration, and static correction. Whether you’re training a puppy or an adult dog, a SportDog Training Collar provides a reliable, humane way to teach obedience and correct behavior.
In this guide, we’ll take a detailed look at the SportDog Training Collar instructions, showing you how to set up and use the collar, and how to maximize its effectiveness. For detailed guidance on ensuring the perfect collar fit for your St. Bernard, check out the Best Practices for St. Bernard Collar Adjustment to keep your dog comfortable and secure.
Blog Highlights
ToggleWhat is a SportDog Training Collar?
The SportDog Training Collar is a remote training system designed to help you train your dog efficiently through a variety of stimulation methods. The collar provides a combination of tone, vibration, and static stimulation to communicate with your dog. It’s particularly effective for off-leash training, hunting dogs, or any situation where you need to correct behavior at a distance.

SportDog collars come in a range of models with varying features, but all share the same basic functions: to correct undesirable behavior and reinforce good behavior through effective and humane training methods. Some of the most popular models include:
- SportDog FieldTrainer 425
- SportDog Brand Remote Trainer
- SportDog Tek Series
Each collar model is designed to meet the needs of different pet owners, from those with large properties to those who need precise, short-range control. Discover the ideal fit by learning what size collar for Newfoundland dog to ensure your pet’s comfort and safety.
Key Features of SportDog Training Collars
SportDog training collars are packed with features that make them effective tools for training. Here’s a breakdown of the key features:

1. Multiple Stimulation Levels:
- Range of Correction: The collars feature 7 to 21 levels of static stimulation, depending on the model. This wide range allows you to adjust the intensity of the correction based on your dog’s size and temperament.
- Vibration & Tone Modes: Many models include vibration and tone functions, with 10 to 15 levels of vibration. These modes can be used for less intrusive corrections.
2. Long Range:
- Range Distance: The SportDog training collars offer a range of up to 1,000 yards for models like the SportDog FieldTrainer 425, which is ideal for outdoor activities such as hiking, running, or fieldwork. Some advanced models, such as the SportDog Tek Series, offer even greater ranges (up to 10 miles for the GPS-enabled versions).
3. Waterproof & Durable:
- Waterproof Rating: SportDog collars are waterproof and designed to withstand various weather conditions. Most models feature an IPX9K waterproof rating, which means they can be submerged in water up to 25 feet for at least 30 minutes.
- Durability: Built for rugged outdoor use, these collars are highly durable, able to withstand extreme conditions such as mud, rain, and even submersion in water.
4. Rechargeable Batteries:
- Battery Life: On a full charge, the collar can last between 50 to 70 hours depending on the model and usage. The remote typically offers 40 to 60 hours of operation.
- Charging Time: Charging the collar and remote typically takes 2 to 3 hours for a full charge.
5. Adjustable Collar Size:
- Collar Fit: The collar fits dogs with neck sizes ranging from 6 inches to 26 inches. The adjustable design ensures a comfortable fit for both small and large dogs.
How to Set Up and Use a SportDog Training Collar
Now that you know about the key features, let’s dive into the step-by-step process for setting up and using the SportDog Training Collar. For expert tips on how to fit a collar on a Belgian Shepherd, this guide offers simple steps to ensure your dog’s collar fits securely and comfortably.

Step 1: Charging the Collar and Remote
Before you begin using the SportDog training collar, ensure both the collar receiver and the remote transmitter are fully charged. This will help you avoid interruptions during training sessions.
- Unbox the Collar: Remove the collar receiver, remote transmitter, and accessories from the box. Check the contents to ensure that everything is included: the collar, remote, charger, and user manual.
- Charge the Devices:
- Collar: Connect the collar receiver to the charger and plug it into a power source. The collar will typically require 2-3 hours for a full charge.
- Remote Transmitter: Similarly, charge the remote transmitter. Depending on the model, the remote usually takes 2-3 hours to charge fully.
- Check Battery Levels: After charging, check the indicator lights on both the collar and the remote. Green lights typically indicate a full charge, while red lights indicate that charging is needed.
Step 2: Fitting the Collar
A well-fitted collar is key to ensuring that the SportDog collar functions effectively. The collar must fit snugly on your dog’s neck to ensure proper stimulation and comfort.
- Place the Collar: Place the collar on your dog’s neck, just below the ears. Ensure that the contact points (metal prongs) are making firm but gentle contact with your dog’s skin. These prongs are responsible for delivering the correction, so they need to touch the skin directly.
- Adjust the Fit: Adjust the collar so it is snug but not tight. You should be able to fit one or two fingers between the collar and your dog’s neck to ensure a proper fit.
- Check for Comfort: Make sure your dog is comfortable with the collar. If your dog shows signs of irritation, like pawing at the collar or shaking its head, check that the prongs aren’t too long or the collar isn’t too tight.
Step 3: Pairing the Collar and Remote
Next, you need to pair the collar with the remote transmitter to ensure that the two devices can communicate.
- Power on the Collar: Press and hold the power button on the collar receiver until you see a blinking light. This indicates that the collar is powered on and ready to be paired.
- Power on the Remote: Similarly, turn on the remote by pressing and holding the power button for a few seconds until the light turns on.
- Pairing the Devices: Follow the instructions in the manual to pair the devices. This typically involves pressing a pairing button on both the collar and the remote. Once the devices are paired, you should see a solid light on both the collar and the remote, indicating a successful connection.
Step 4: Choosing the Correct Stimulation Mode
SportDog collars provide different types of correction: tone, vibration, and static stimulation. The mode you choose depends on your dog’s response to correction.
- Tone Mode: This is the least invasive option and is great for getting your dog’s attention. The tone setting can be used for dogs who are responsive to auditory cues.
- Number of Tone Levels: SportDog offers 10-15 different tone levels depending on the model.
- Vibration Mode: The vibration option is designed to provide a tactile signal to your dog, helping to grab their attention without causing pain.
- Vibration Levels: Vibration modes typically come with 10-15 adjustable intensity levels, depending on the model, allowing you to choose the right strength.
- Static Stimulation: This mode delivers mild to intense static correction to deter unwanted behavior. Start with the lowest setting and increase the intensity if necessary.
- Static Stimulation Levels: Most SportDog collars feature between 7 and 21 levels of static stimulation. This wide range allows for fine adjustments according to your dog’s needs.
Step 5: Training Your Dog with the Collar
Now that the collar is set up and paired with the remote, you’re ready to start training. Here’s how to incorporate the SportDog Training Collar into your training routine.
- Start with Basic Commands: Begin with simple commands like “sit,” “stay,” “come,” or “heel.” If your dog is already familiar with these commands, the collar will help reinforce them.
- Use the Correction: If your dog does not comply with a command, apply the appropriate correction using the remote. For tone, press the tone button. For vibration, press the vibration button. For static stimulation, use the appropriate static level.
- Positive Reinforcement: Always reward your dog with praise, treats, or toys when they respond correctly. This positive reinforcement helps your dog understand that good behavior is rewarded.
- Keep Sessions Short: Training sessions should be 10-15 minutes long to prevent fatigue and keep your dog engaged. Frequent, brief sessions tend to be more effective than longer ones.
Step 6: Deactivating the Collar
Once your training session is over, turn off the collar and the remote to conserve battery life.
- Turn Off the Collar: Press and hold the power button on the collar until the light turns off.
- Turn Off the Remote: Similarly, press and hold the power button on the remote until it shuts off.
Wrapping Up
The SportDog Training Collar is a versatile and effective tool for dog training. With a wide range of features such as adjustable stimulation levels, waterproof durability, and long-range capabilities, it can significantly improve your dog’s behavior and obedience.
By following the instructions in this guide, you can ensure that you’re using the collar safely and effectively. Always prioritize your dog’s well-being by starting with lower stimulation levels and gradually increasing intensity as needed. For expert tips on how to fit a collar on a Belgian Shepherd, this guide offers simple steps to ensure your dog’s collar fits securely and comfortably.
With consistent use and patience, the SportDog Training Collar can help you achieve your training goals, whether you’re teaching basic commands, working on behavior correction, or training for off-leash activities.


