
| Summary: To reset the Mini Educator remote, turn it off, then press and hold the “Pager” and “On/Off” buttons for 10 seconds. Release both buttons when the screen flickers or the remote powers off and on. |
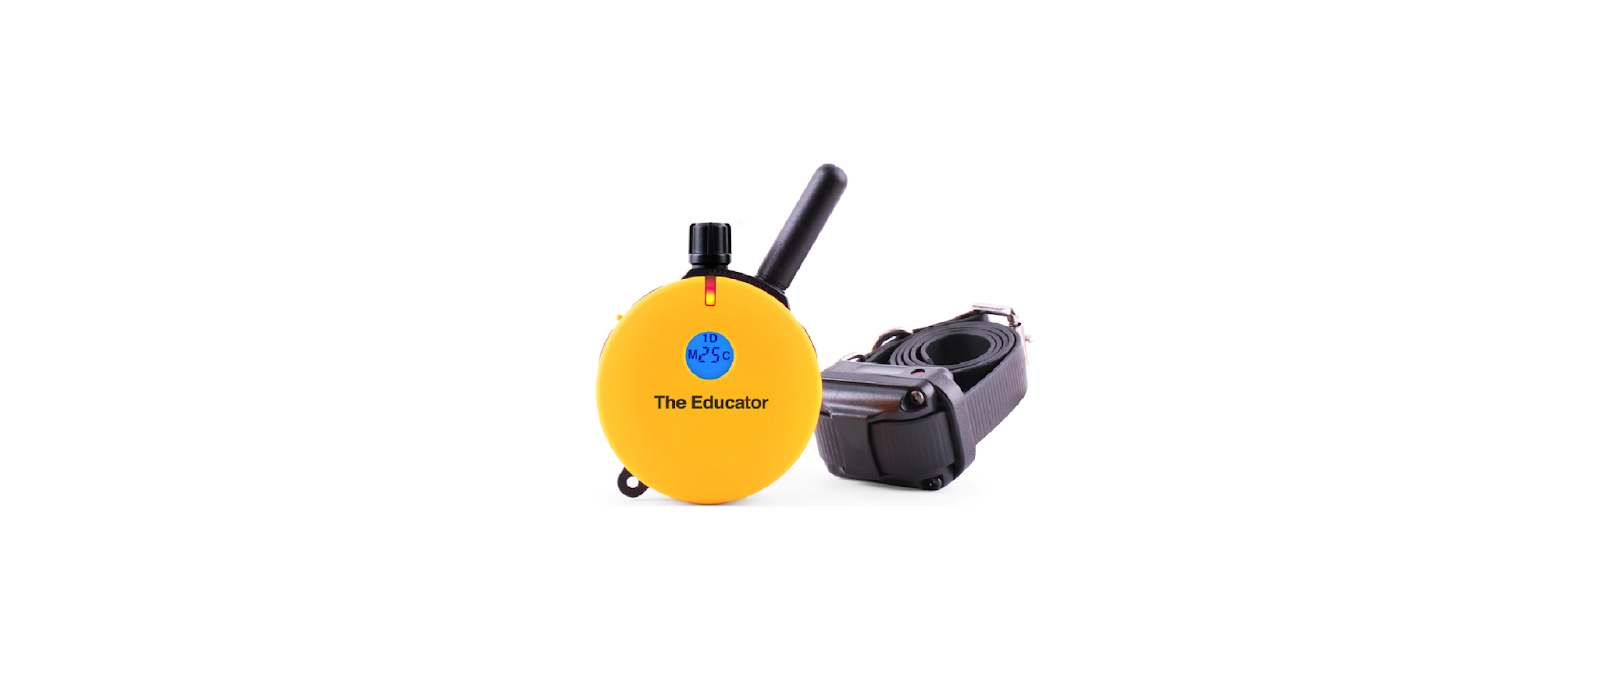
The Mini Educator ET-300 is one of the most popular and reliable remote dog training collars available in the market today. Known for its versatility, long battery life, and adjustable stimulation levels, the Mini Educator offers pet owners and professional trainers a useful tool for dog behavior correction. So, how to reset mini educator remote?
Despite its reliability, there are occasions when the Mini Educator remote might need to be reset due to malfunctions, syncing issues, or unresponsive buttons. Learn more about the unique double-layered coat of an Anatolian Shepherd and how to care for it effectively.
Mini Educator ET-300: Key Features
Before we dive into the resetting process, it’s essential to understand the key features of the Mini Educator ET-300 remote and collar. These specifications help you recognize the capabilities of the device, so you can troubleshoot and reset it effectively.
- Adjustable Stimulation Levels: The remote has 100 adjustable stimulation levels, allowing you to select the level best suited to your dog’s temperament. The lowest setting, level 1, offers a mild correction, while the highest setting, level 100, delivers a more intense stimulation for strong-willed dogs.
- Range: The Mini Educator remote has a range of 1/2 mile (800 meters), which means you can communicate with your dog over a fairly large area. This range is effective for most training environments, whether in an open field or a large backyard.
- Rechargeable Lithium-Ion Batteries: The remote and collar both utilize rechargeable lithium-ion batteries. The remote’s battery lasts up to 40 hours of continuous use, and the collar’s battery lasts about 60 hours. Both devices require 2 hours for a full charge.
- Waterproof: The Mini Educator remote and collar are rated IPX7, meaning they are waterproof and can be submerged in water up to 1 meter (3 feet) for up to 30 minutes. This feature makes it suitable for use in all kinds of weather conditions, including rain or when your dog enjoys swimming.
- Nick and Constant Stimulation: The device provides both momentary (Nick) stimulation for brief corrections and constant stimulation for continuous correction. This allows trainers to adjust the level of correction depending on the situation.
- Vibration and Tone: In addition to the stimulation modes, the vibration (with 10 levels of intensity) and tone options provide non-invasive alternatives for communicating with your dog.
Understanding these features is vital, as they help in recognizing potential issues with your device and offer a basis for troubleshooting the reset process. For insights on whether Pomeranians should wear a collar, including considerations for safety and alternatives, check out this informative article.
Why Resetting the Mini Educator Remote May Be Necessary
There are several reasons you may need to reset the Mini Educator remote. Whether it’s due to syncing issues, unresponsiveness, or battery drain, resetting the device can help restore its functionality.
- Pairing Problems: Sometimes, the remote and collar may become unsynced or fail to pair properly, especially if the devices have been turned off or their batteries are replaced.
- Unresponsive Buttons or Screen: If the remote’s screen or buttons become unresponsive after prolonged use or mishandling, performing a reset can often resolve the issue.
- Battery Drain or Charging Issues: If the remote or collar doesn’t hold a charge properly or drains too quickly, a reset can help resolve any firmware or electrical issues causing the battery to deplete faster than expected.
- Malfunctioning of Features: If the stimulation, vibration, or tone buttons do not work as expected, resetting the devices may restore functionality. In some cases, a firmware reset is necessary to resolve issues with the collar’s internal circuitry.
Here’s a quick overview:
| Question | Answer |
| How do I reset the Mini Educator remote? | Turn off the remote, then press and hold the “Pager” and “On/Off” buttons simultaneously for 10 seconds. |
| What if the remote doesn’t reset? | Ensure the remote is charged, then try resetting again. |
| Why would I need to reset the remote? | Reset if the remote is unresponsive, or you’re pairing it with a new collar. |
| Do I need to reset the collar too? | Yes, if syncing, reset both the collar and remote. |
| How do I confirm the remote reset? | The screen will flicker or the remote will power off and on again after a successful reset. |
How to Reset Mini Educator Remote: Step-by-Step Guide
Resetting your Mini Educator remote is a simple process. Here’s a detailed, step-by-step guide on how to perform a reset and get your device back up and running.
Step 1: Power Off the Remote and Collar
Before you can reset the Mini Educator remote, both the remote and the collar receiver need to be turned off.
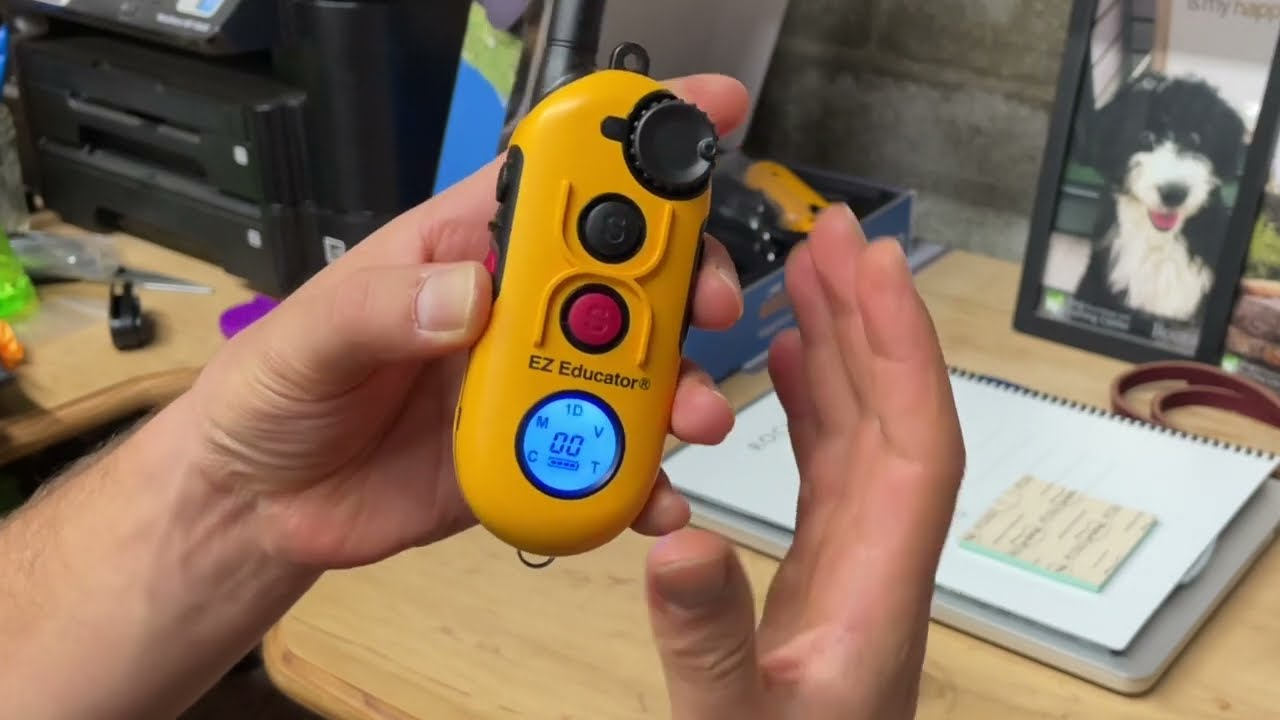
- Power Off the Remote: Press and hold the power button on the remote for 3-5 seconds until the LCD screen goes dark and the remote shuts off.
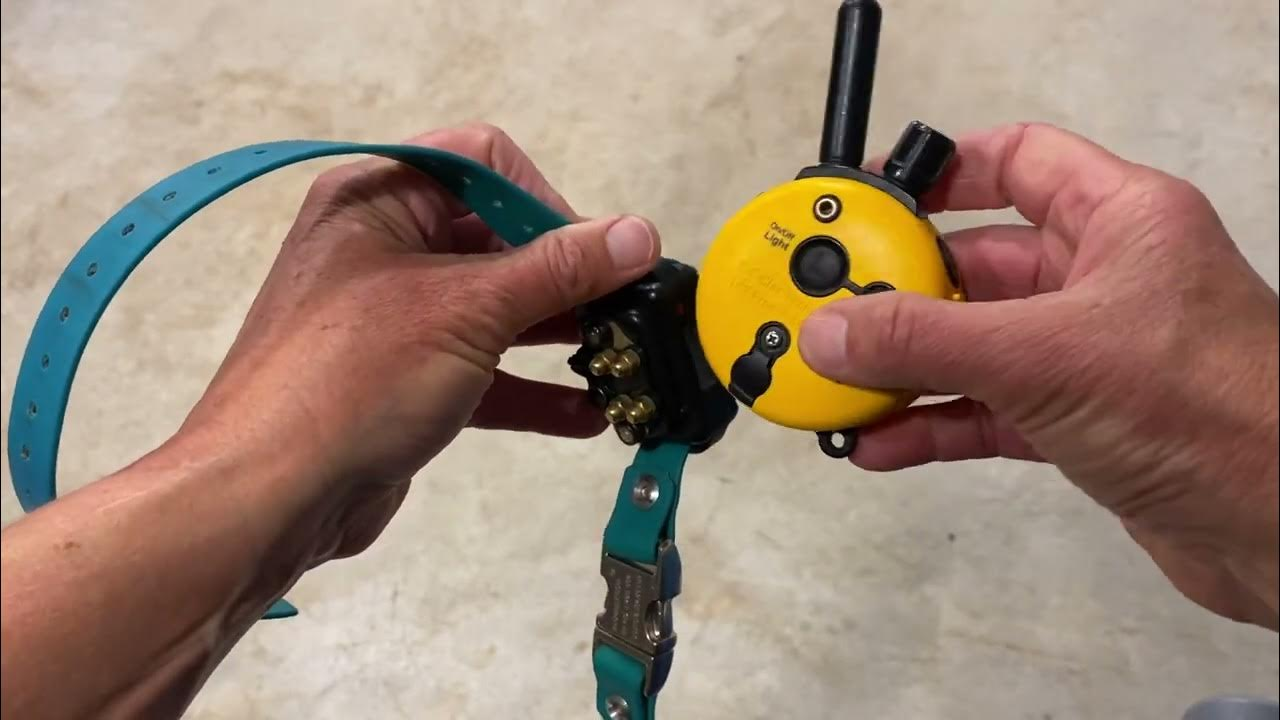
- Power Off the Collar: Similarly, press and hold the power button on the collar receiver for 5 seconds until the collar turns off.
Turning both devices off ensures that you begin the reset process from a completely powered-down state. For a comprehensive guide on what kind of harness is best for a Pomeranian, including comfort and safety tips, check out this article.
Step 2: Reset the Remote
Now that both devices are off, proceed with the reset process for the Mini Educator remote.
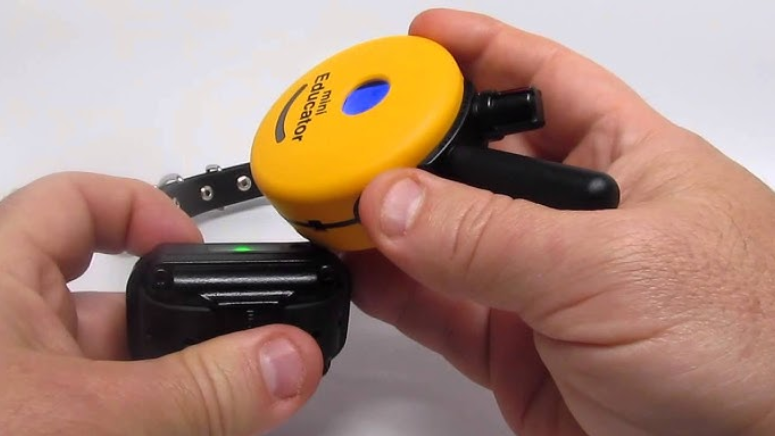
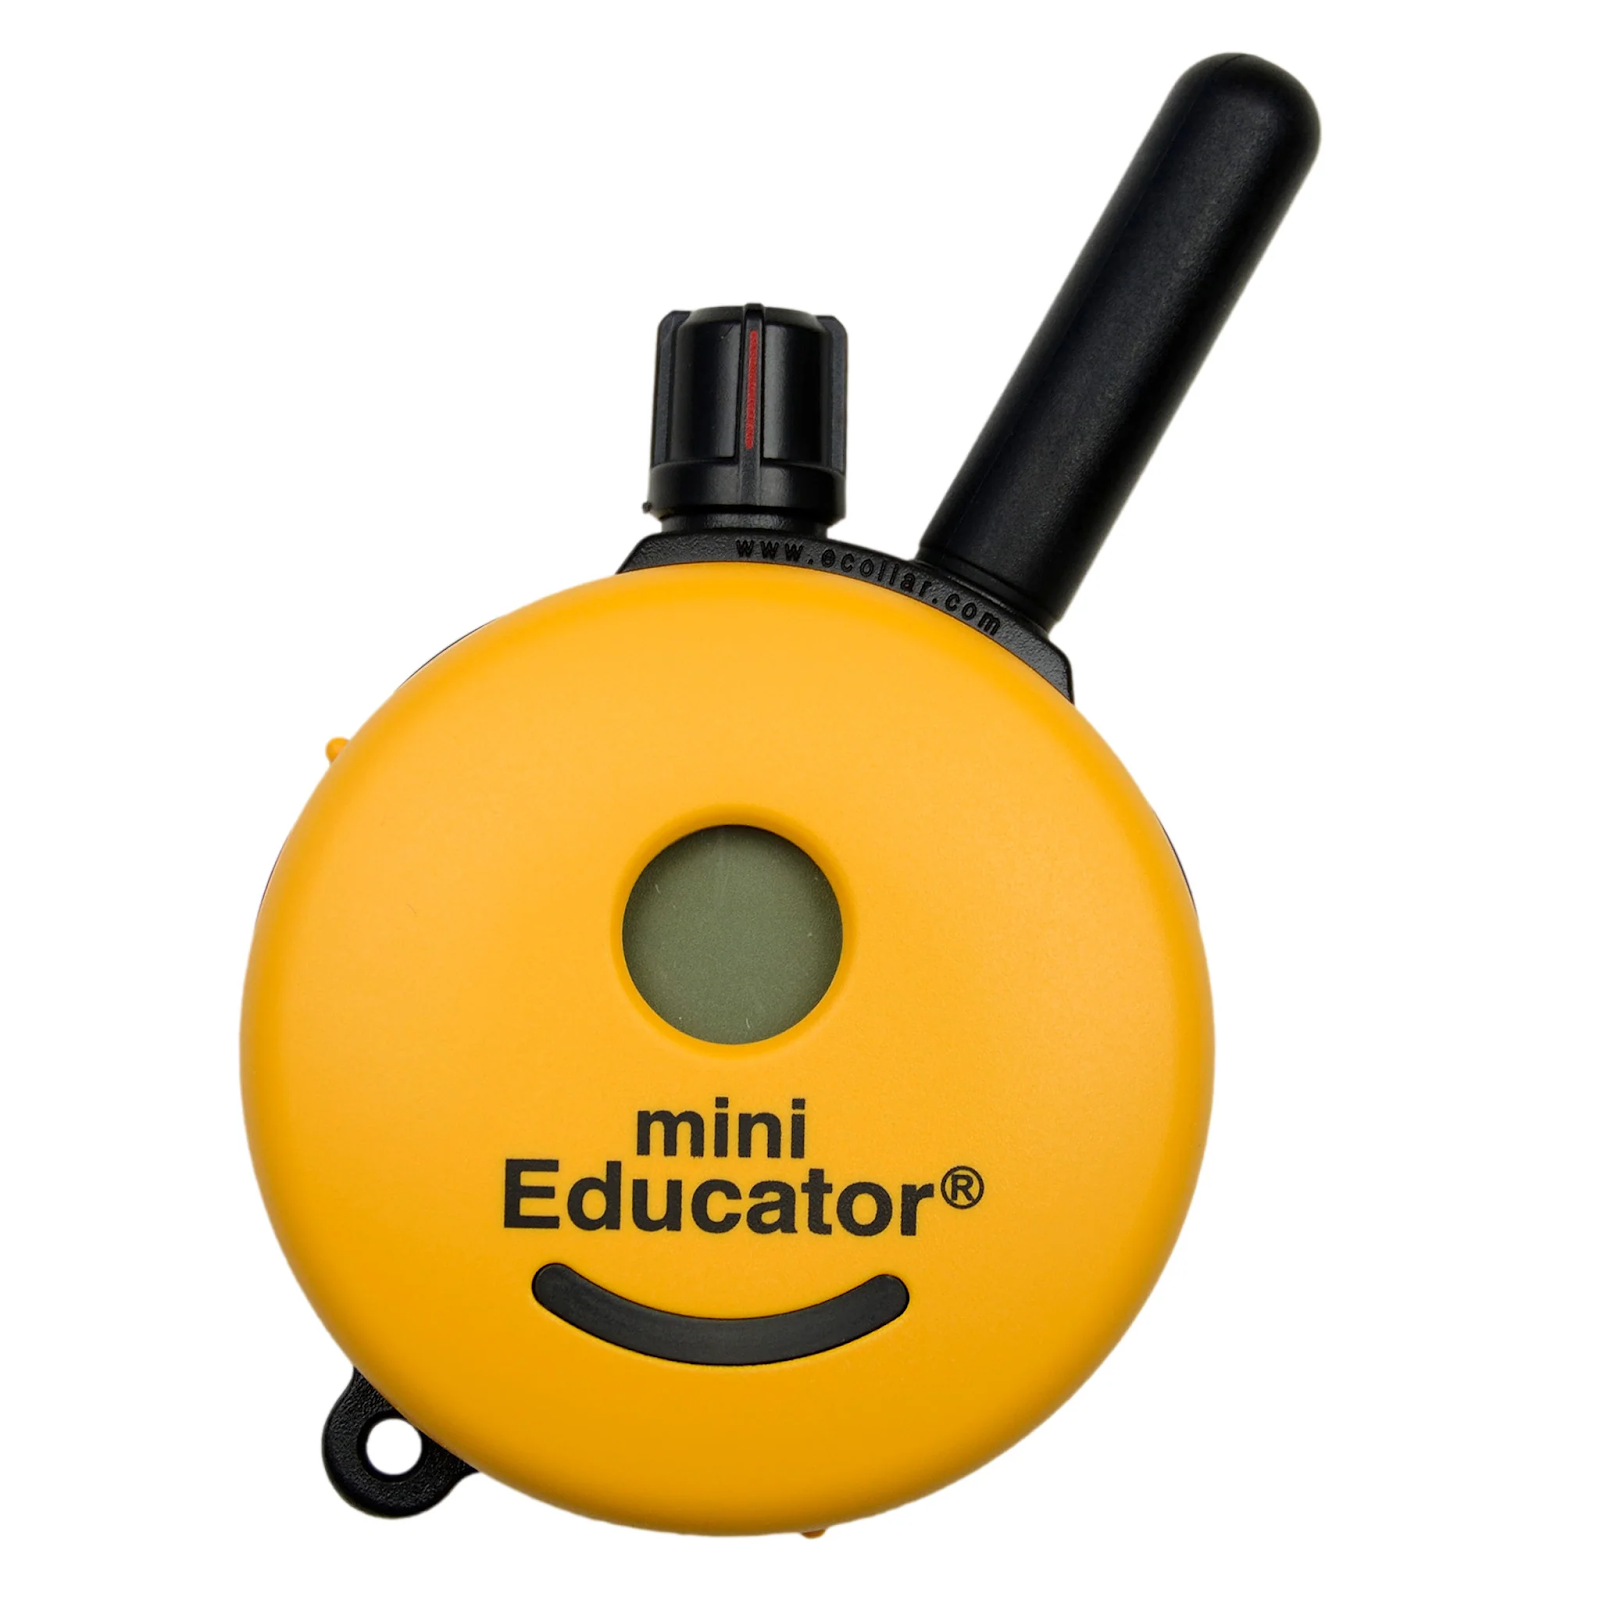
- Press and Hold the Power and Mode Buttons: Press and hold the power button and the mode button (located beneath the LCD screen) simultaneously for about 10 seconds. Keep the buttons pressed until the screen flashes or the remote begins to display a green light, indicating that the reset process has been triggered.
- Power Button: This button is used to turn the remote on and off. It’s located at the top of the device.
- Mode Button: This button changes the mode of the remote between stimulation (momentary or constant), vibration, and tone.
- Release the Buttons: After the green light flashes or the screen flashes briefly, release both buttons. The remote is now reset to its factory settings.
Step 3: Re-Sync the Collar and Remote
Once the remote has been reset, it’s time to pair it with the collar again. Here’s how to do it:
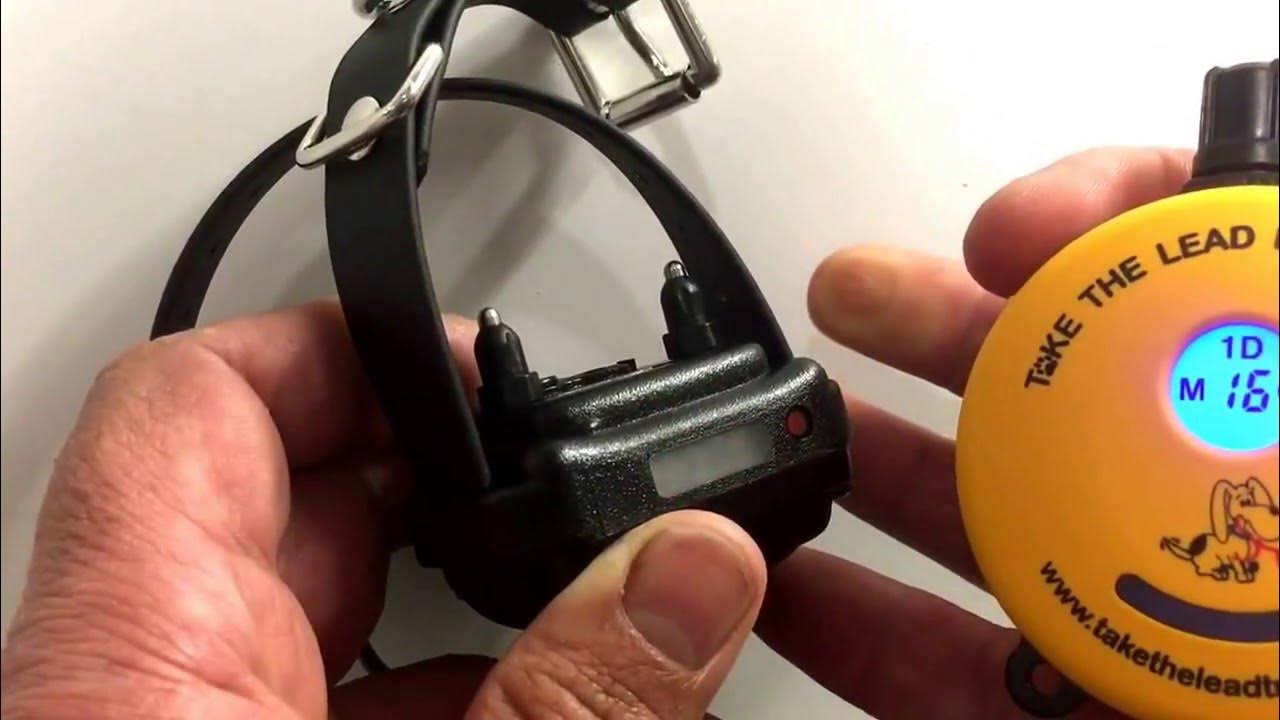
- Turn the Collar Back On: Press and hold the power button on the collar receiver for 5 seconds until the collar’s light starts flashing. The collar is now in pairing mode.
- Activate Pairing Mode on the Remote: On the remote, press and hold both the “Continuous” and “Momentary” stimulation buttons at the same time for about 5-10 seconds. This will initiate the pairing process between the remote and the collar.
- Wait for the Pairing Confirmation: The collar’s light will change to a solid green or stop flashing, indicating that the devices are successfully paired. This usually takes about 30 seconds to 1 minute.
Step 4: Test the Remote and Collar
Now that the remote and collar are synced, you should test both devices to confirm that they are functioning properly.

- Check the Stimulation: Test the stimulation levels by pressing the corresponding buttons on the remote. Ensure that the collar responds accordingly.
- Test the Vibration and Tone: Check if the vibration and tone modes work as expected. Adjust the vibration intensity using the level settings.
- Check the Range: Ensure that the remote communicates with the collar at the expected 1/2 mile (800 meters) range.
Troubleshooting Post-Reset Issues
After resetting the Mini Educator remote, some issues may persist, particularly with battery charging or syncing. Below are common issues and possible solutions:
Issue 1: Collar Isn’t Responding
If the collar doesn’t respond to the remote after resetting, try these steps:
- Check the Battery Levels: Make sure both the collar and remote are fully charged. The collar battery lasts up to 60 hours of use on a full charge, and the remote lasts up to 40 hours.
- Recheck Pairing: Sometimes syncing may not happen properly on the first attempt. Repeat the pairing process and ensure that both devices are within 12 inches (30 cm) during the reset.
- Inspect for Interference: Ensure there are no electronic devices or large metal objects in the vicinity that could cause interference with the signal.
Issue 2: The Remote’s LCD Screen Remains Blank
If the remote’s screen remains blank, follow these steps:
- Charge the Remote: Sometimes a completely drained battery will cause the screen to remain blank. Charge the remote for about 2 hours and then check the screen again.
- Inspect for Physical Damage: If the screen remains blank despite charging, inspect the remote for physical damage. If there’s a crack or water ingress, the device may need repairs.
Issue 3: Unresponsive Buttons
Unresponsive buttons on the remote may result from dirt or moisture buildup. Here’s what you can do:
- Clean the Remote: Use a soft cloth to clean the buttons and ensure there is no dirt or moisture blocking the contacts. You can also use a cotton swab to gently clean around the edges of the buttons.
- Reset Again: In some cases, resetting the remote a second time can help fix button issues.
Maintaining Your Mini Educator Remote and Collar
To reduce the likelihood of needing frequent resets, it’s essential to maintain the Mini Educator remote and collar. Here are some tips for proper maintenance:
- Regular Charging: Always charge both the remote and collar after each use to maintain optimal battery life. Avoid overcharging, as this can shorten the lifespan of the lithium-ion batteries.
- Keep the Devices Clean: Regularly wipe down both the collar and remote with a soft, damp cloth to remove dirt and moisture. Use a toothbrush to clean the contact points on the collar receiver.
- Store Properly: When not in use, store both devices in a cool, dry place away from extreme temperatures. Avoid leaving the collar or remote in direct sunlight, as excessive heat can damage the internal components.
- Check for Firmware Updates: Occasionally check for firmware updates on the manufacturer’s website to improve performance and add new features.
Wrapping Up
Resetting your Mini Educator remote is a quick and effective way to resolve common issues like syncing problems, unresponsive buttons, or battery malfunctions. By following the steps outlined in this guide and maintaining both the remote and collar, you can ensure that your devices continue to perform at their best. Hope so, now you know how to reset mini educator remote.
With features like 100 adjustable stimulation levels, a 1/2 mile range, and waterproof durability, the Mini Educator ET-300 is a powerful tool for training your dog. Regular resets, paired with good maintenance practices, will help you get the most out of this device, ensuring that you and your dog enjoy a successful training experience. Discover if the American Eskimo is a guard dog and learn about its suitability for protecting your home.