
| Summary: Sewing a dog bow tie is easy and fun! With just 1/4 yard of fabric, 1-inch-wide elastic (10-12 inches), and a sewing machine, you can create a custom accessory. Measure your dog’s neck (10–24 inches), add 1 inch for adjustments, and follow 7 simple steps to ensure a perfect fit. |
A bow tie is a simple yet elegant accessory that can make any dog look dapper. Whether you’re preparing for a special event, a photoshoot, or just want to add a touch of style to your pup’s wardrobe, sewing a dog bow tie is an enjoyable and rewarding project. With a free dog bow tie sewing pattern, you can create a custom piece that reflects your dog’s personality and size, ensuring a perfect fit for your furry friend.
Find out what color collar looks best on a Rottweiler to complement their bold appearance and highlight their unique features.
In this comprehensive guide, we’ll walk you through everything you need to know to make a stunning dog bow tie. We will cover materials, tools, step-by-step instructions, and tips to ensure that your bow tie looks professional. Whether you’re a beginner or an experienced sewist, this tutorial will provide you with all the necessary details to make a beautiful, functional bow tie for your dog.
Quick Fix FAQ Table
| Question | Answer |
| Why sew your own bow tie? | Customization, cost-effectiveness, and bonding with your pet. |
| Materials needed? | Fabric, interfacing (optional), elastic/strap, thread, needle, scissors, pins, iron. |
| How to measure for fit? | Measure your dog’s neck, add 1 inch for adjustments. |
| Beginner-friendly? | Yes, with step-by-step instructions and basic sewing skills. |
| Can I use Velcro instead of elastic? | Yes, Velcro provides an adjustable and secure option. |
Why Sew Your Own Dog Bow Tie?
1. Customization
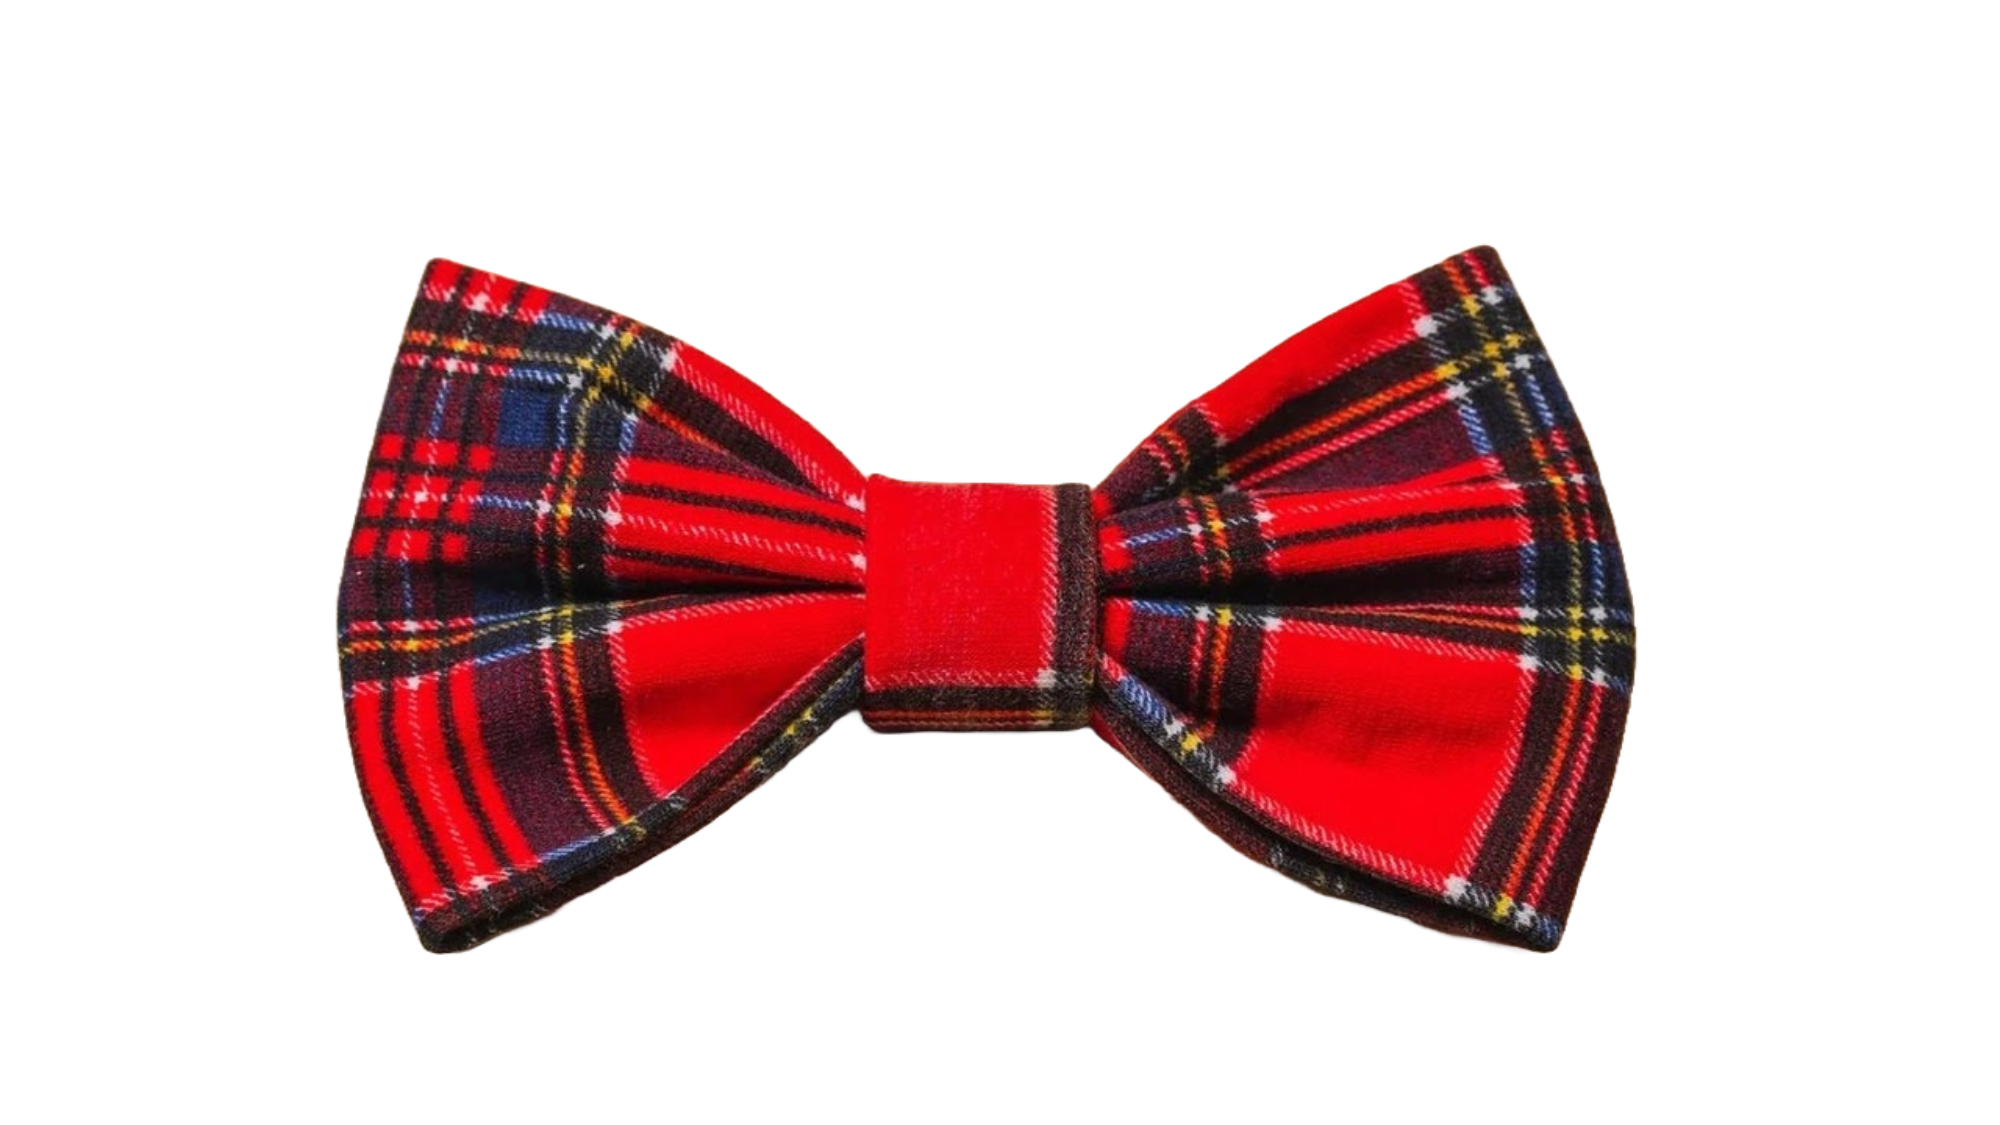
When you make a bow tie yourself, you can choose the fabric that matches your dog’s personality. Whether it’s a classic polka dot, a festive holiday pattern, or a sleek velvet for formal occasions, the options are endless. You can also customize the size and shape to ensure it fits your dog perfectly.
2. Cost-Effective
Buying a pre-made dog bow tie from a store can be costly, especially if you’re looking for high-quality or unique designs. By making your own, you save money and gain satisfaction from the process. Plus, you can create several bow ties in different colors and styles for various occasions.
3. Bonding with Your Pet
Creating a custom accessory for your dog gives you a chance to bond with your pet, particularly if they enjoy wearing clothing or accessories. The process of fitting the bow tie and adjusting it to your dog’s neck will make for an enjoyable experience.
Learn what size collar for a Rottweiler is ideal by following this detailed guide to ensure a perfect fit for your dog’s comfort and safety.
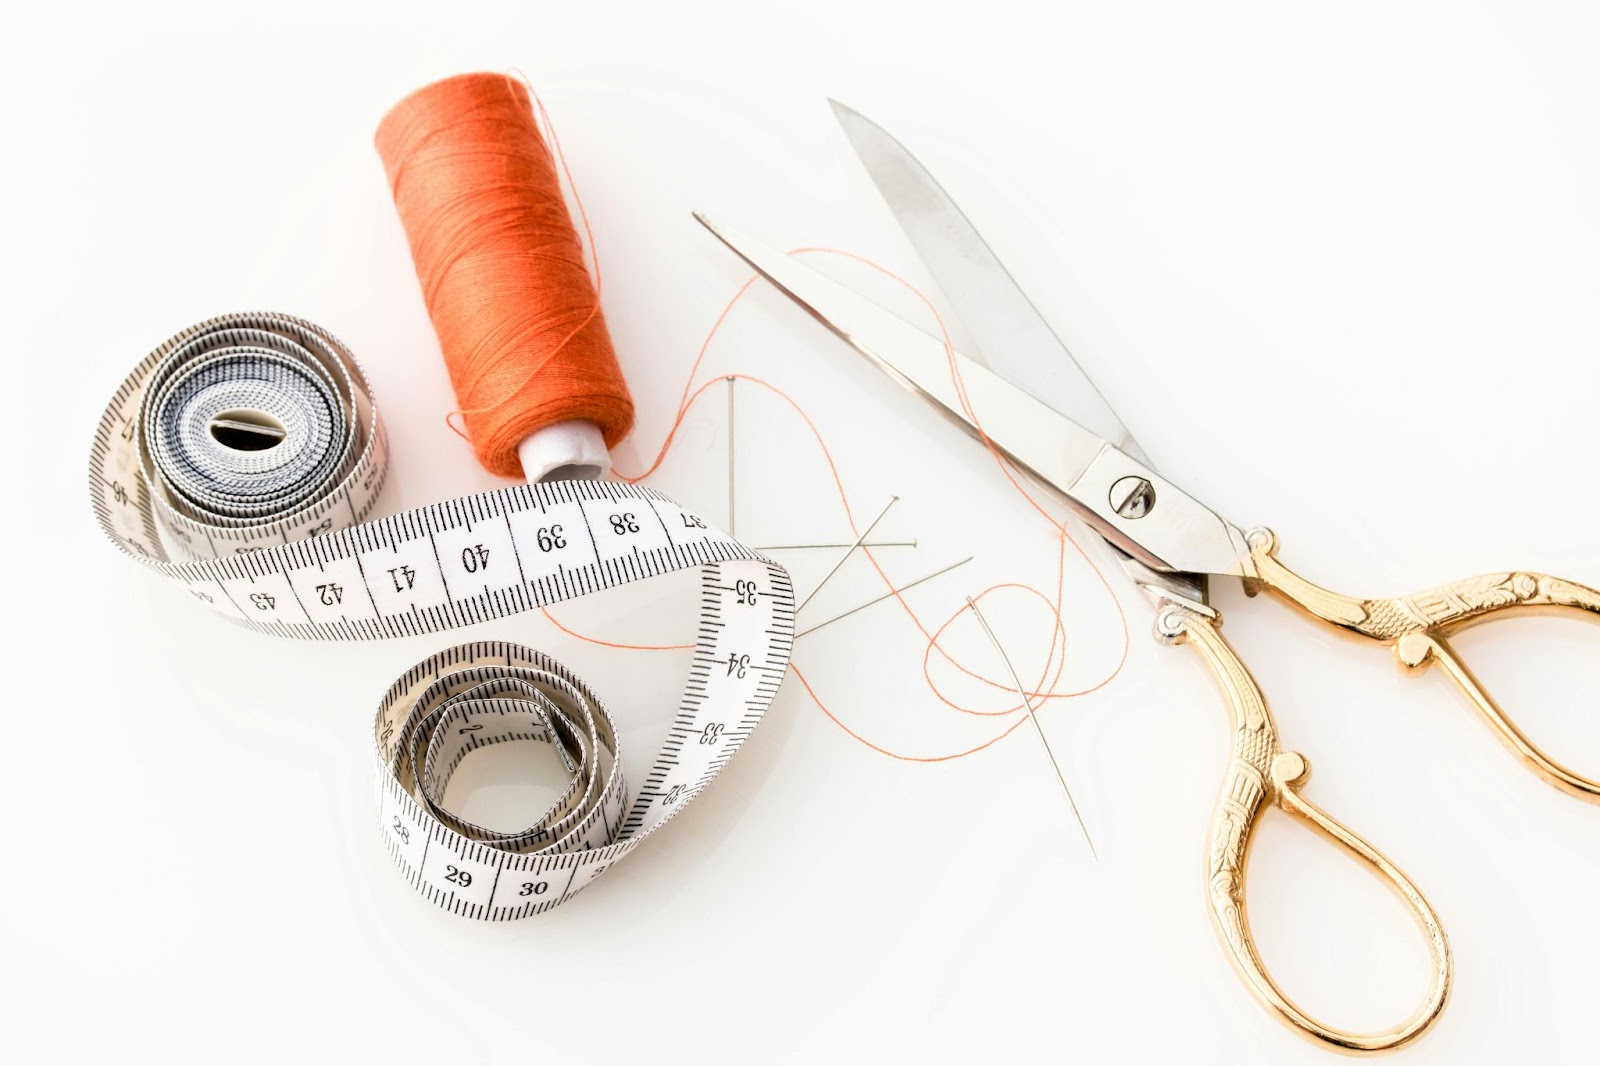
Materials and Tools Needed
Before you start sewing, it’s important to gather the right materials and tools. Here’s a list of everything you’ll need for the project:
Materials:
- Fabric: Choose a fabric that complements your dog’s personality and style. Cotton fabrics are a popular choice because they are breathable and easy to work with. For a more formal look, opt for velvet, satin, or silk. You’ll need around 1/4 yard (22 cm) of fabric for each bow tie.
- Fusible Interfacing: This is optional but can add structure to the bow tie, helping it maintain its shape. You’ll need a small amount of fusible interfacing that matches your fabric.
- Elastic or Adjustable Strap: This will be used to attach the bow tie to your dog’s collar. You can opt for elastic for a stretchy, easy-to-adjust option or a velcro strap for a customizable fit. Make sure to measure your dog’s neck size beforehand.
- Thread: Use a strong thread that matches your fabric color. A regular cotton thread will work well for most fabrics.
- Needle: A sewing needle that fits the fabric you’re using.
- Sewing Machine: While this is optional, a sewing machine will make the process much faster and neater.
- Scissors: For cutting fabric, interfacing, and straps.
- Pins: To hold your fabric in place while sewing.
- Measuring Tape: To measure your dog’s neck and the fabric pieces.
- Iron: For pressing the fabric and interfacing into shape.
You can learn whether Dachshunds need special collars and find expert recommendations in this article: Do Dachshunds Need Special Collars.
Free Dog Bow Tie Sewing Pattern | Step-by-Step Guide to Making a Dog Bow Tie
Now that you have all the materials ready, let’s go over the steps involved in creating a bow tie for your dog.
Step 1: Measure Your Dog’s Neck Size
The first step is to measure your dog’s neck to ensure the bow tie will fit properly. Use a measuring tape to measure around the widest part of your dog’s neck, usually just below the ears.
- Small Dogs (Under 15 lbs): Measure the neck size in the range of 10–12 inches (25–30 cm).
- Medium Dogs (15–40 lbs): Measure in the range of 12–16 inches (30–41 cm).
- Large Dogs (Over 40 lbs): Measure in the range of 16–24 inches (41–61 cm).
Once you have the neck measurement, add an extra inch to allow for adjustments and ensure that the bow tie won’t be too tight.
Step 2: Cut the Fabric and Interfacing
With your measurements in hand, you can now cut the fabric. Use the following dimensions for a standard bow tie:
- Main Fabric (Bow Tie):
- Width: 6 inches (15 cm)
- Length: 12 inches (30 cm)
- Bow Tie Band (Fabric Strap):
- Width: 1 inch (2.5 cm)
- Length: 10 inches (25 cm)
- Interfacing (for added structure):
- Cut pieces to match the size of the fabric.
For a larger or smaller dog, feel free to adjust the measurements of the bow tie and band.
Step 3: Apply the Interfacing
If you’re using fusible interfacing, this step will add some structure to your fabric, giving the bow tie a more professional and polished look. Follow these steps:
- Place the interfacing on the wrong side of your fabric (the side that will be facing inward).
- Using an iron set to medium heat, press the fabric and interfacing together according to the manufacturer’s instructions. This will fuse the interfacing to the fabric, making it sturdier and easier to shape.
Step 4: Sew the Bow Tie Fabric
Now it’s time to make the bow tie itself. Follow these steps to sew the fabric:
- Fold the fabric: Take the main bow tie fabric (6×12 inches) and fold it in half lengthwise, with the right sides of the fabric facing inward. Pin the edges to keep them in place.
- Sew along the edge: Using a sewing machine, sew along the long edge, leaving a small 1/4-inch seam allowance. Make sure to leave both ends open.
- Turn the fabric: After sewing, carefully turn the fabric right-side-out. You can use a pencil or chopstick to gently push out the corners for a cleaner look.
- Press the bow tie: Once the fabric is turned, use an iron to press the bow tie, ensuring that it lays flat and even.
Step 5: Create the Center Knot
To create the center knot of the bow tie:
- Take the small fabric strip (1×10 inches), and fold it in half lengthwise.
- Sew along the edge to create a long tube. Once sewn, turn the fabric right-side-out.
- Wrap this small strip around the center of the bow tie, gathering the middle to form the bow shape. Secure the ends of the strip with a few hand stitches to hold the bow tie together.
Step 6: Attach the Band
Now it’s time to attach the band that will hold the bow tie onto your dog’s collar. If you are using elastic, follow these steps:
- Cut a piece of elastic to the desired length (about 10–12 inches, depending on your dog’s neck size). Make sure it is stretchy enough to fit comfortably around your dog’s neck without being too tight.
- Attach the ends of the elastic to each side of the bow tie. Secure the elastic by sewing it to the back of the bow tie, where the fabric strips meet.
Alternatively, if you’re using Velcro for an adjustable strap, sew small Velcro pieces to the ends of the bow tie strap. This way, you can easily adjust the size to fit your dog’s neck.
Step 7: Final Touches
Once the bow tie is complete, do a final inspection to ensure that the stitching is secure and that the bow tie fits comfortably around your dog’s neck. Make sure there are no loose threads or sharp edges that could cause discomfort.
To decide whether a collar or harness is best for your Dachshund, check out this helpful guide: What is Best for Dachshund Collar or Harness.
Tips for a Perfect Dog Bow Tie
- Choose Fabrics Carefully: Opt for fabrics that are soft and comfortable against your dog’s skin. Avoid fabrics that could irritate your pet, such as stiff or scratchy materials.
- Reinforce the Seams: Use backstitching or reinforce the seams where the fabric meets the elastic or Velcro, as these areas will endure the most stress.
- Size the Bow Tie: If you have a large dog, consider making a larger bow tie to maintain balance. A tiny bow tie on a big dog might look awkward, while a too-big bow tie on a small dog could overwhelm their features.
- Add a Charm or Decoration: For extra flair, you can sew a small charm, button, or decorative element in the center of the bow tie. This can make the accessory even more unique!

Wrapping Up
Making your own dog bow tie is a fun, creative, and cost-effective project that results in a personalized accessory your dog will love. Whether you’re a beginner or an experienced sewer, following this simple guide with a free dog bow tie sewing pattern ensures that you’ll create a stylish and functional piece for your furry friend. Discover the best collars for Siberian Huskies for both style and comfort.
By customizing the fabric, size, and style, you can create a bow tie for any occasion—from daily wear to special events. With just a few basic materials and steps, you’ll be able to make a bow tie that fits perfectly, keeps your dog comfortable, and adds a touch of flair to their outfit. Enjoy the process, and watch your dog strut their stuff in their new, stylish accessory!