Making a beaded dog collar for your dog can be a fun, personalized project that allows you to create something unique and stylish for your pet. Not only will your dog have a custom collar, but you’ll also have the satisfaction of knowing you made it yourself. So, how to make beaded dog collars?
I will cover the step-by-step process of creating a beaded dog collar, the materials needed, and tips for ensuring durability and comfort. By following these instructions, you can design a collar that’s both functional and beautiful.
Blog Highlights
ToggleWhy Make a Beaded Dog Collar?

When I was looking for a collar for my dog, I wanted something special that reflected her personality. Standard collars didn’t feel unique enough, so I decided to make a custom beaded collar. This DIY approach not only gave me a chance to create something stylish but also helped me ensure it would be comfortable and durable.
Plus, crafting the collar myself allowed me to adjust the design to her exact measurements, making sure it fit just right. Beaded collars are perfect for adding personality and a pop of color to your dog’s everyday look.
Materials Needed for a Beaded Dog Collar
Before starting, gather the necessary materials. Here’s what I used to make a beaded collar for my dog, with approximate quantities for a medium-sized collar:
- Nylon or Leather Collar Base (1 piece): I chose a 1-inch wide nylon collar as the base. It’s durable and works well with beads.
- Beads (Approximately 200-250 beads): Choose beads that are 6-8mm in size. I used a combination of wooden and glass beads to add texture and color. Ensure the beads are durable and safe for pets.
- Strong Thread or Beading Wire (2-3 feet): I used 50 lb beading wire for extra durability, as it can withstand the pull of an active dog.
- Needle: A fine needle helps with stringing the beads.
- Clasps or Buckles (1 set): Choose a strong buckle that can handle your dog’s strength. For my dog, I opted for a stainless steel buckle to ensure it would last.
- Glue or Epoxy: A small amount for securing knots or ends.
- Scissors: For trimming the wire or thread.
These materials can be adjusted based on the size and strength of your dog. For example, a larger dog may require a wider collar base and more beads.
How to Make Beaded Dog Collars | Step-by-Step Instructions
Here’s a simple guide to make a beaded collar:
Step 1: Measure Your Dog’s Neck
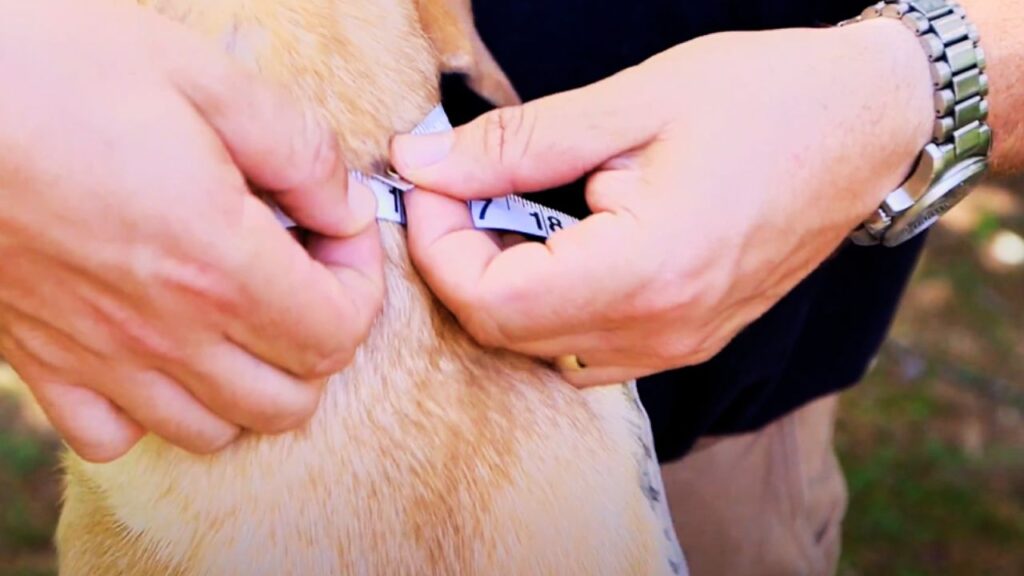
Use a soft tape measure to get your dog’s neck measurement. Add an extra 1-2 inches to ensure the collar isn’t too tight. For my dog, her neck measured 15 inches, so I made the collar about 16 inches for a comfortable fit.
Step 2: Prepare the Collar Base
Cut your nylon or leather collar base to the correct length based on your dog’s neck measurement. If you’re using a pre-made collar, make sure it’s clean and dry before attaching beads.
Step 3: Choose and Arrange Your Beads
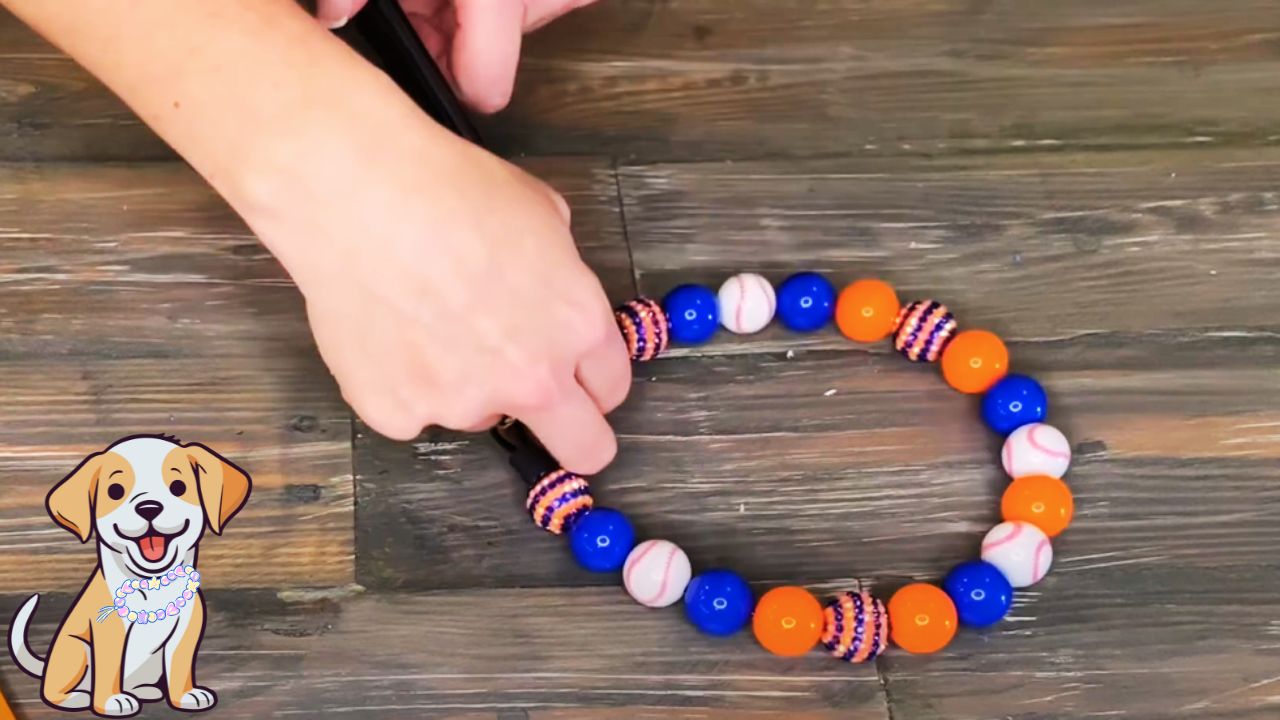
Lay out about 200-250 beads in the pattern you’d like for the collar. I used a mix of blue, green, and brown beads to match my dog’s coat. Create a design that repeats every few inches for a balanced look.
Step 4: Attach the Beads
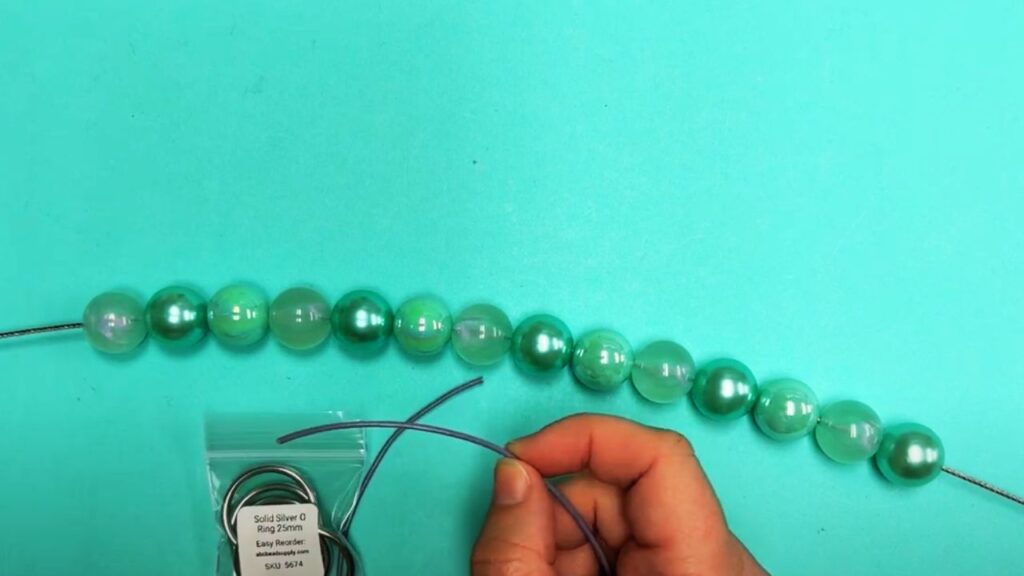
Using beading wire or strong thread, start threading the beads in the chosen pattern. To secure the beads to the collar base, you can either sew the wire directly onto the nylon collar or create a separate beaded strip to attach later. I chose to create a strip and then sewed it onto the collar base for added strength.
- Secure One End: Tie a secure knot or use glue to hold the beads in place on one end.
- Thread the Beads: String 3-4 inches of beads at a time, then use a needle to sew the wire onto the collar base at regular intervals. This method ensures the beads stay in place even if your dog pulls.
- Repeat: Continue threading and attaching beads until you reach the end of the collar.
Step 5: Secure the Ends
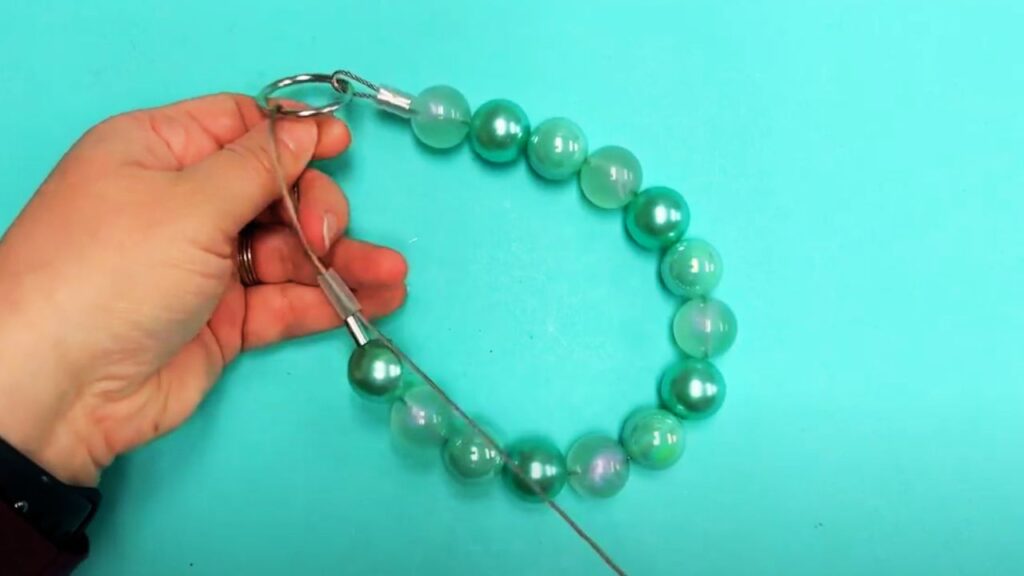
Once all the beads are attached, use glue or epoxy on both ends to keep everything in place. Make sure the beads are securely attached to prevent any loosening. For my dog’s collar, I used epoxy for durability, as it provides a strong hold.
Step 6: Attach the Buckle or Clasp
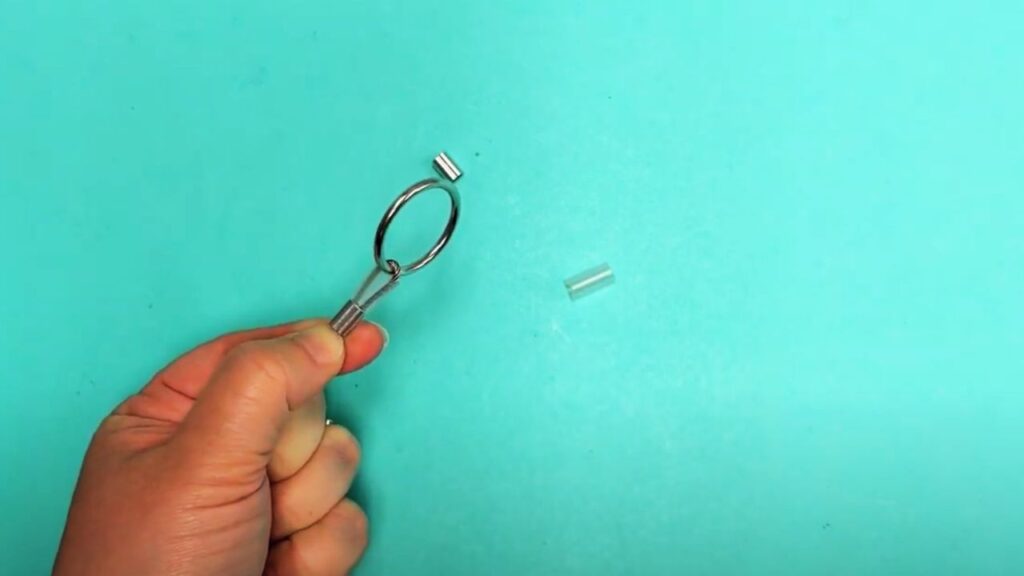
If you’re making the collar from scratch, attach the buckle or clasp to the ends. Double-check that it’s strong enough to handle any pulling or tugging. I used a metal buckle rated for 50 lbs, giving me peace of mind that it would stay secure.
Step 7: Final Touches
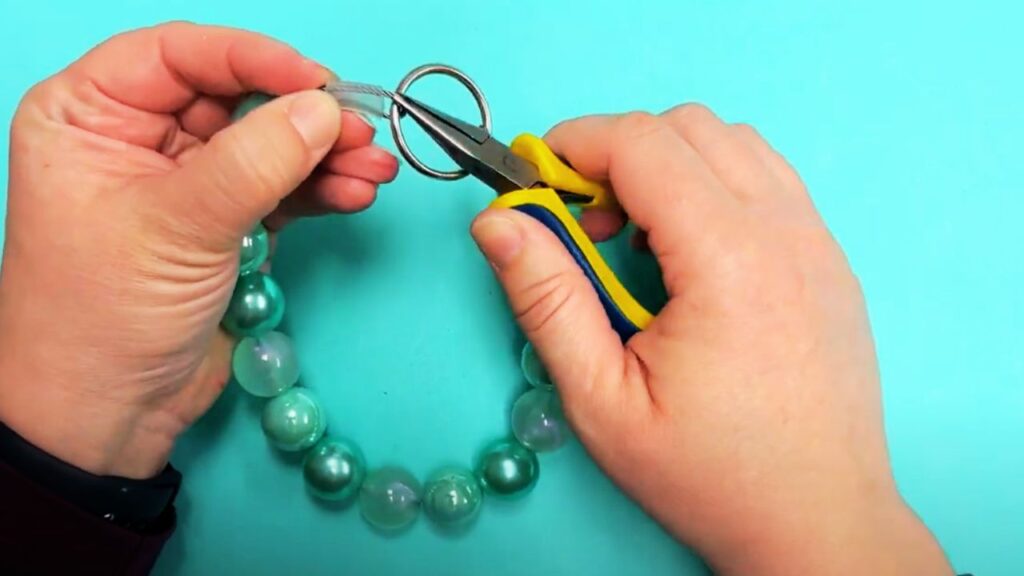
Trim any excess thread or wire and smooth out any rough edges. Allow the glue or epoxy to dry for 24 hours before placing the collar on your dog.
Tips for Making a Durable Beaded Collar
After testing the collar on my dog, here are a few tips I found helpful:
- Choose Strong Materials: Nylon or leather bases work best, as they are durable enough to hold beads without breaking.
- Use High-Quality Beads: Cheap beads may break or fade, so invest in durable glass, wood, or stone beads that can withstand outdoor conditions.
- Secure Each Section: By securing every 2-3 inches, you ensure that if one section breaks, the entire collar doesn’t fall apart.
- Test the Collar: After assembling, gently pull on the collar to make sure it’s strong enough. I tested mine by attaching a leash and giving it a light tug.
- Keep it Lightweight: Avoid using too many beads, as a heavy collar can be uncomfortable for your dog.
Pros and Cons of Beaded Dog Collars
Here’s a quick breakdown based on my experience making a beaded collar:
This table highlights that beaded collars are great for adding a personal touch, but they do require proper materials and careful construction to ensure durability.
Alternative Design Ideas for Beaded Dog Collars
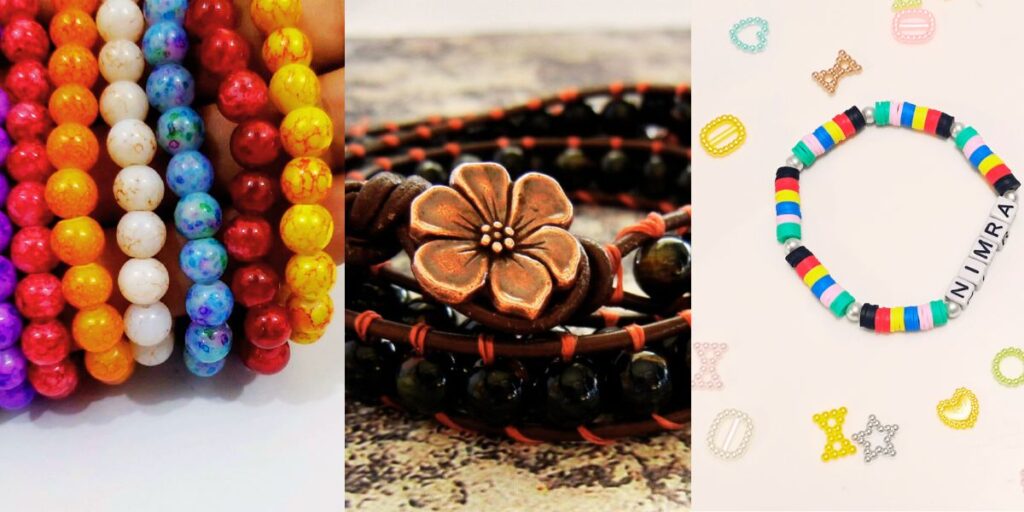
If you want to customize your dog’s collar further, consider these ideas:
Leather Base with Beads
For a classic look, use a leather base with natural stone or wooden beads. This design adds a rustic feel and is highly durable.
Colorful Patterns
Create a colorful pattern with glass beads that match your dog’s personality. For example, I chose blue and green tones that complement my dog’s coat, making the collar stand out.
Charms and Name Beads
Add a charm or beads with letters to spell your dog’s name. This adds a personal touch and can serve as an additional form of ID.
Reflective Beads
If you often walk your dog at night, consider adding reflective beads. These make the collar more visible in low light, adding an element of safety.
Conclusion
Making a beaded collar for your dog is a rewarding project that lets you customize their style while ensuring a comfortable and durable fit. With about 200-250 beads, a strong collar base, and some careful assembly, you can create a collar that’s both beautiful and functional.
By using quality materials, measuring your dog’s neck accurately, and following the steps above, you can make a collar that fits your dog’s personality and lifestyle. Hope so, now you know how to make beaded dog collar.
Final Recommendations
- Use Durable Materials: Choose a sturdy base and beads that won’t break easily.
- Measure Carefully: Ensure the collar fits well by adding 1-2 inches to your dog’s neck measurement.
- Secure Every Few Inches: Attach beads to the collar base at intervals to ensure they stay in place.
- Add a Strong Buckle: Use a metal or high-quality buckle that can handle your dog’s strength.
- Test Before Use: Gently tug on the collar to check durability and make adjustments if needed.
Creating a beaded collar for your dog adds a unique, stylish touch and ensures they wear something made with love and care. By following these steps, you’ll have a collar that reflects your dog’s personality and strengthens your bond.
FAQs
1. Can I use any beads for my dog’s collar?
Not all beads are suitable. Avoid glass or plastic beads that break easily. Opt for durable beads made from wood, stone, or strong glass.
2. How long does it take to make a beaded dog collar?
Making a beaded collar can take 1-2 hours, depending on the design and complexity. Take your time to ensure everything is secure and well-placed.
3. Is a beaded collar comfortable for dogs?
Yes, as long as the collar is lightweight and the beads are securely attached, it should be comfortable. Make sure there’s enough space (1-2 inches) for movement.
4. How do I clean a beaded dog collar?
To clean a beaded collar, gently wipe it with a damp cloth. Avoid soaking it, especially if it has wooden beads or a leather base.
5. Can I add a name tag to a beaded collar?
Yes, you can attach a name tag to the collar or add letter beads with your dog’s name as part of the design for extra personalization.

