| Summary: To make a dog bow tie, measure your dog’s neck, cut fabric (Bow: 12″x6″, Band: 10-12″x1″), sew the bow body, create the center knot, and attach an elastic or Velcro strap. Finalize by adjusting the fit and pressing the bow tie. Follow these 7 simple steps for a perfect finish. |
A bow tie is a simple but stylish accessory that can make any dog look dapper. Whether you’re preparing for a special occasion, a photoshoot, or just want to add some flair to your dog’s wardrobe, making a bow tie is a fun and creative project. So, how to make bow tie for dog?
Best of all, you can easily make your own at home with a few basic sewing supplies. Discover the best collars for Siberian Huskies for both style and comfort.
I’ll show you how to make a bow tie for your dog from start to finish. From gathering materials to assembling the bow tie and adjusting it for your dog’s comfort, we’ll cover every step to help you create a professional-looking accessory for your furry friend.
Whether you’re an experienced sewist or a beginner, this guide is designed to be easy to follow, providing all the details you need to get started.
Quick Fix FAQ Table
| Question | Answer |
| Materials Needed? | Fabric, elastic/Velcro, thread, sewing needle/machine, scissors, measuring tape, iron. |
| Fabric Size? | Bow: 12″x6″, Band: 10-12″x1″. |
| Optional Tools? | Fusible interfacing for stiffness, pins, or fabric glue. |
| How to Measure Neck? | Use measuring tape around the widest part, adding 1-2 inches for comfort. |
| Sewing Required? | Basic hand stitching or a sewing machine works fine. |
| Customization Tips? | Add buttons or charms for personality; reinforce seams for durability. |
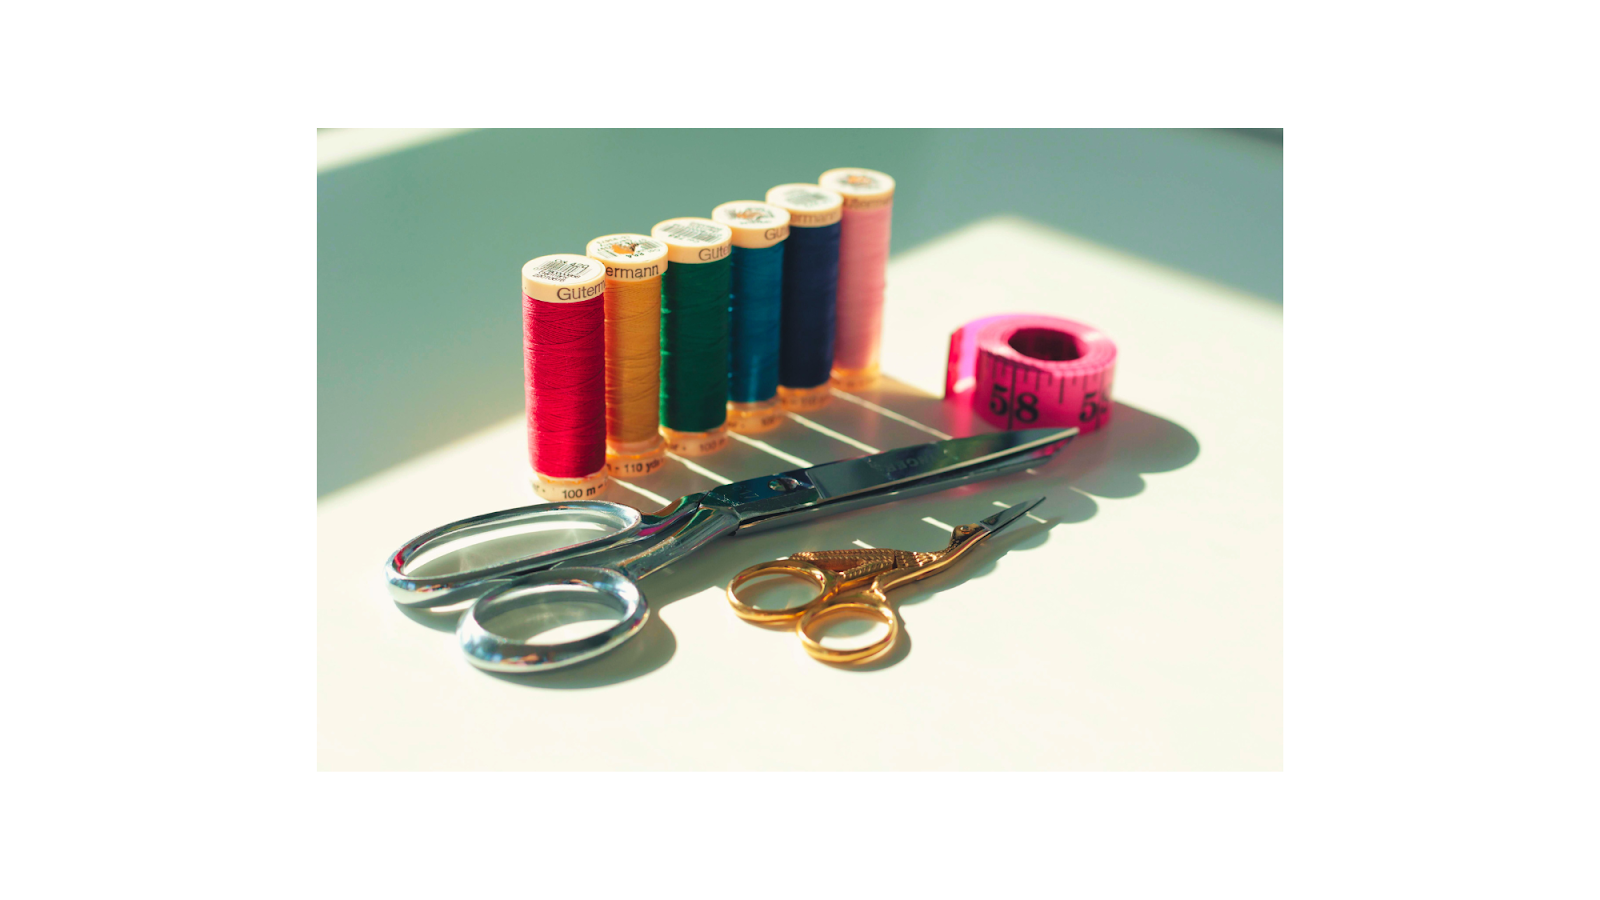
Materials and Tools You’ll Need
Before you dive into the actual process, you’ll want to gather all the materials and tools needed to create your bow tie. Here’s a comprehensive list to help you prepare:
1. Fabric
- Cotton: A popular choice because it’s easy to work with and breathable, making it ideal for dogs.
- Velvet or Satin: These are great choices for formal occasions or holiday events.
- Fleece or Flannel: Good for colder months or a cozier look.
Fabric Requirements:
You’ll need around 1/4 yard (23 cm) of fabric to make one bow tie. You can use different fabrics for the bow and the band (strap), or you can make them both out of the same fabric. Learn how to put a collar on a Husky with these practical tips.
2. Elastic or Adjustable Strap
- Elastic: Great for easy sizing, as it can stretch to fit your dog’s neck.
- Velcro: Can be used for an adjustable band, allowing for a customizable fit around your dog’s neck.
Size: The length of the elastic or adjustable strap will depend on your dog’s neck size. Typically, for small dogs, 10-12 inches (25-30 cm) is a good length, while larger dogs will need 16-20 inches (41-51 cm). Make sure to measure your dog’s neck before you start!
3. Fusible Interfacing (Optional)
Fusible interfacing adds stiffness to your fabric, helping the bow tie keep its shape. This is optional but recommended for a more structured look.
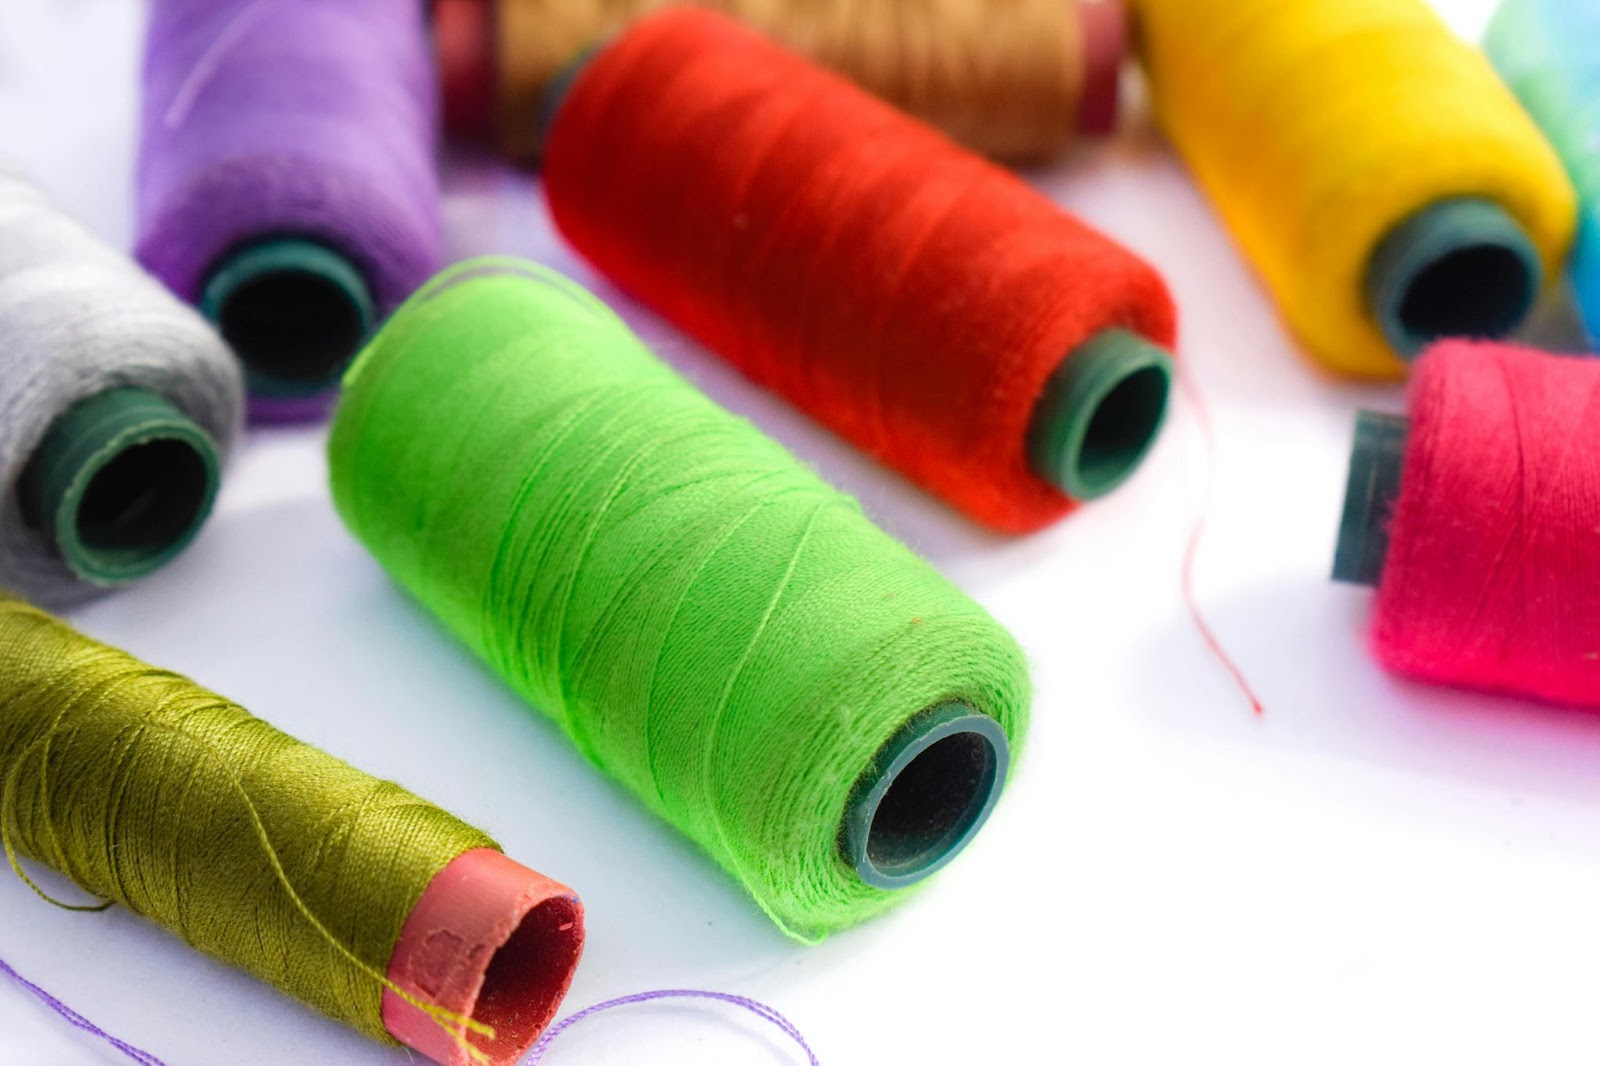
4. Thread
Choose thread that matches the color of your fabric. Regular cotton sewing thread should work for most fabrics. Find out the best collars for Cane Corsos to suit their unique needs.
5. Sewing Needles
A regular sewing needle should work fine. If you’re working with heavier fabrics like velvet, use a heavy-duty needle.
6. Sewing Machine (Optional)
If you’re more comfortable with hand sewing, that works just fine! However, a sewing machine will make the process much quicker, especially when it comes to sewing the edges.
7. Scissors
Use sharp fabric scissors to cut your fabric cleanly.
8. Measuring Tape
Measure your dog’s neck to ensure that the bow tie will fit comfortably.
9. Pins or Fabric Clips
Pins or fabric clips will help keep your fabric in place while sewing.
10. Iron
You’ll need an iron to press your fabric and give the bow tie a neat and polished appearance. Explore the Cane Corso growth and weight chart and nutrition plans.
Step-by-Step Guide to Making a Bow Tie for Your Dog
Now that you have everything you need, let’s dive into the step-by-step process of making a bow tie for your dog. Follow these simple instructions to create a stylish accessory for your furry friend. Here’s how to make bow tie for dog:
Step 1: Measure Your Dog’s Neck Size
Before you start cutting fabric, it’s essential to know the size of your dog’s neck. The bow tie needs to be the right size to sit comfortably, not too tight but not too loose. Here’s how to measure:
- Use a measuring tape to measure around the widest part of your dog’s neck, typically just below the ears.
- Record the measurement and add 1–2 inches to account for comfort and flexibility in the collar strap or elastic.
Here’s a general guide to help you size your dog’s bow tie:
- Small Dogs: Neck size around 10–12 inches (25–30 cm).
- Medium Dogs: Neck size around 12–16 inches (30–41 cm).
- Large Dogs: Neck size around 16–20 inches (41–51 cm).
With these measurements in hand, you’re ready to cut your fabric.
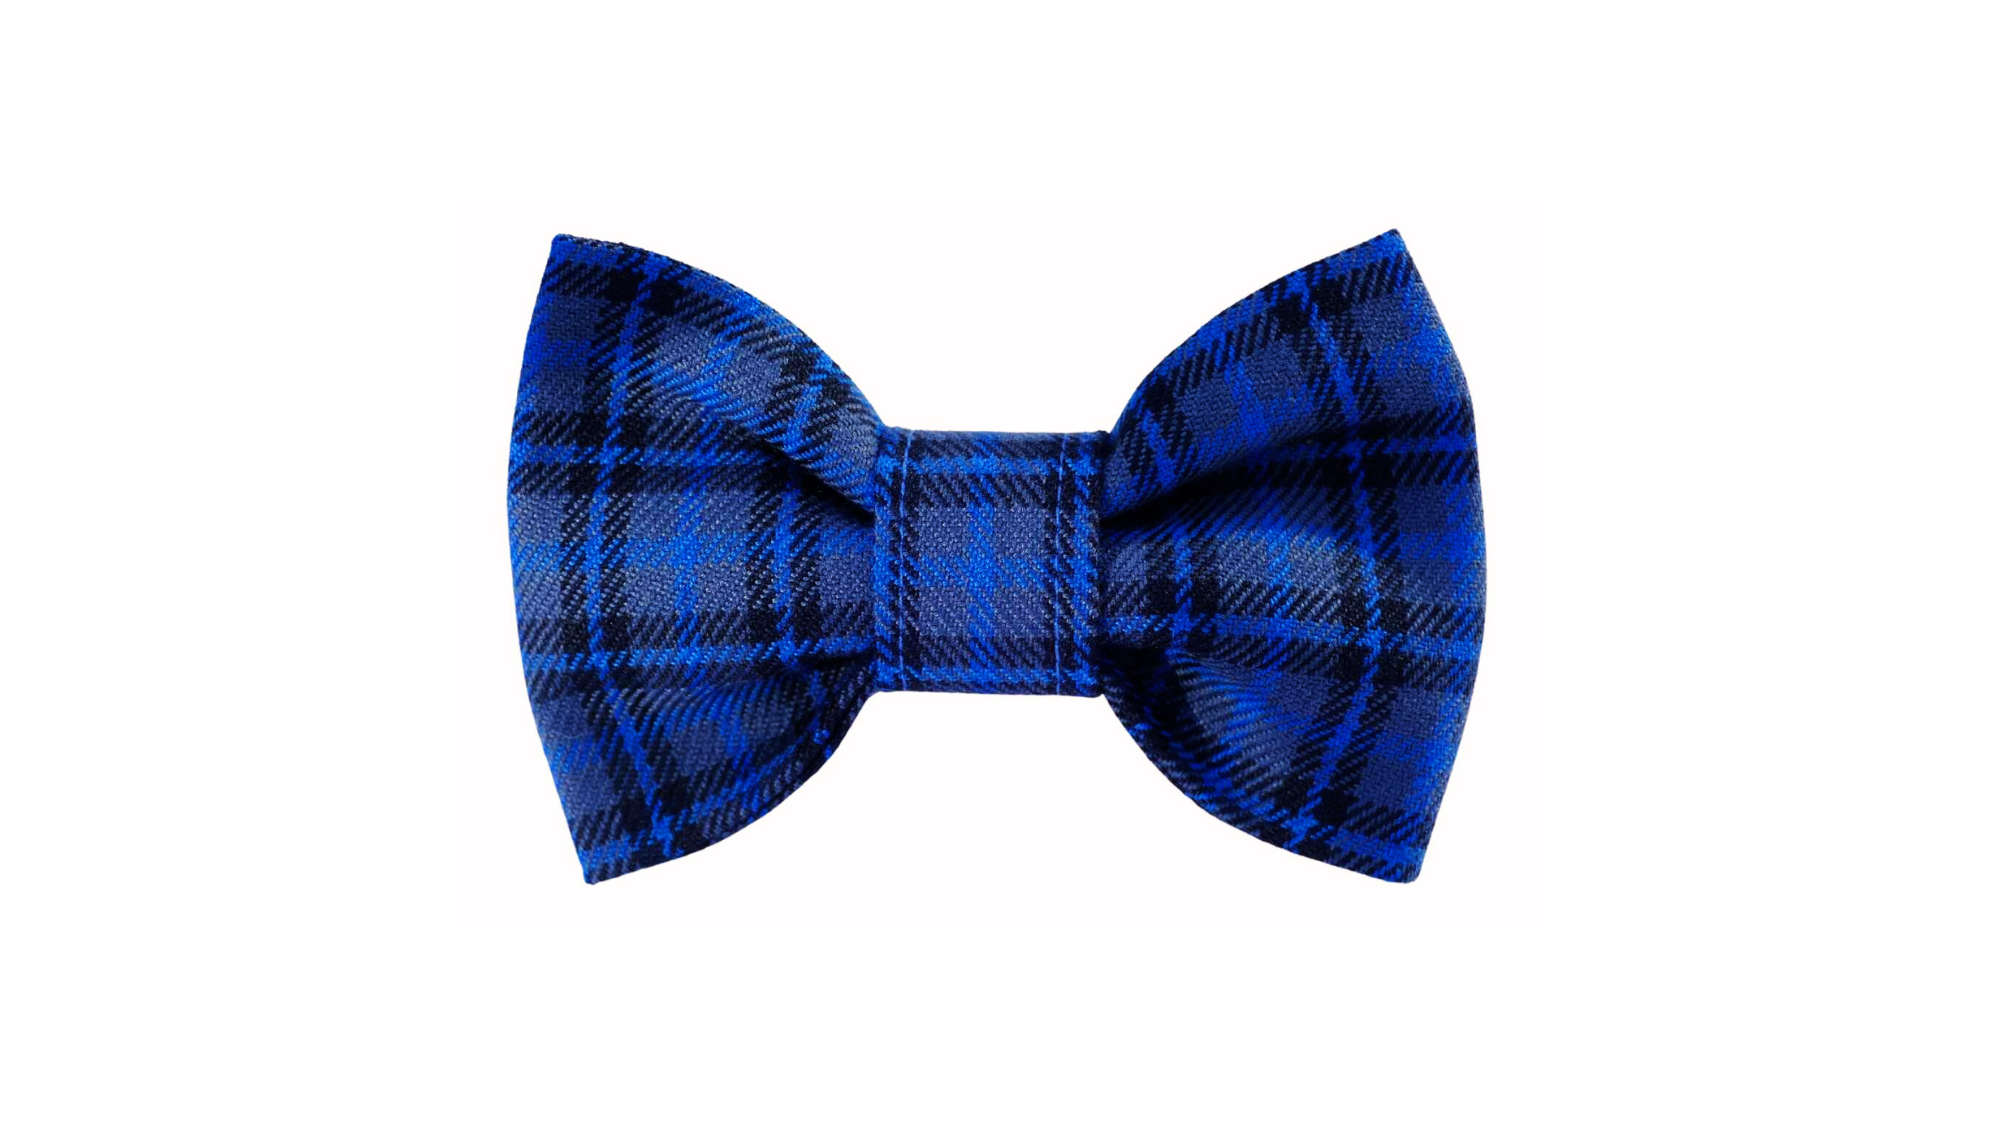
Step 2: Cut Your Fabric
You’ll need two main fabric pieces for the bow tie: one for the body of the bow and one for the band (strap) that will attach to your dog’s collar. Use the following dimensions for the pieces:
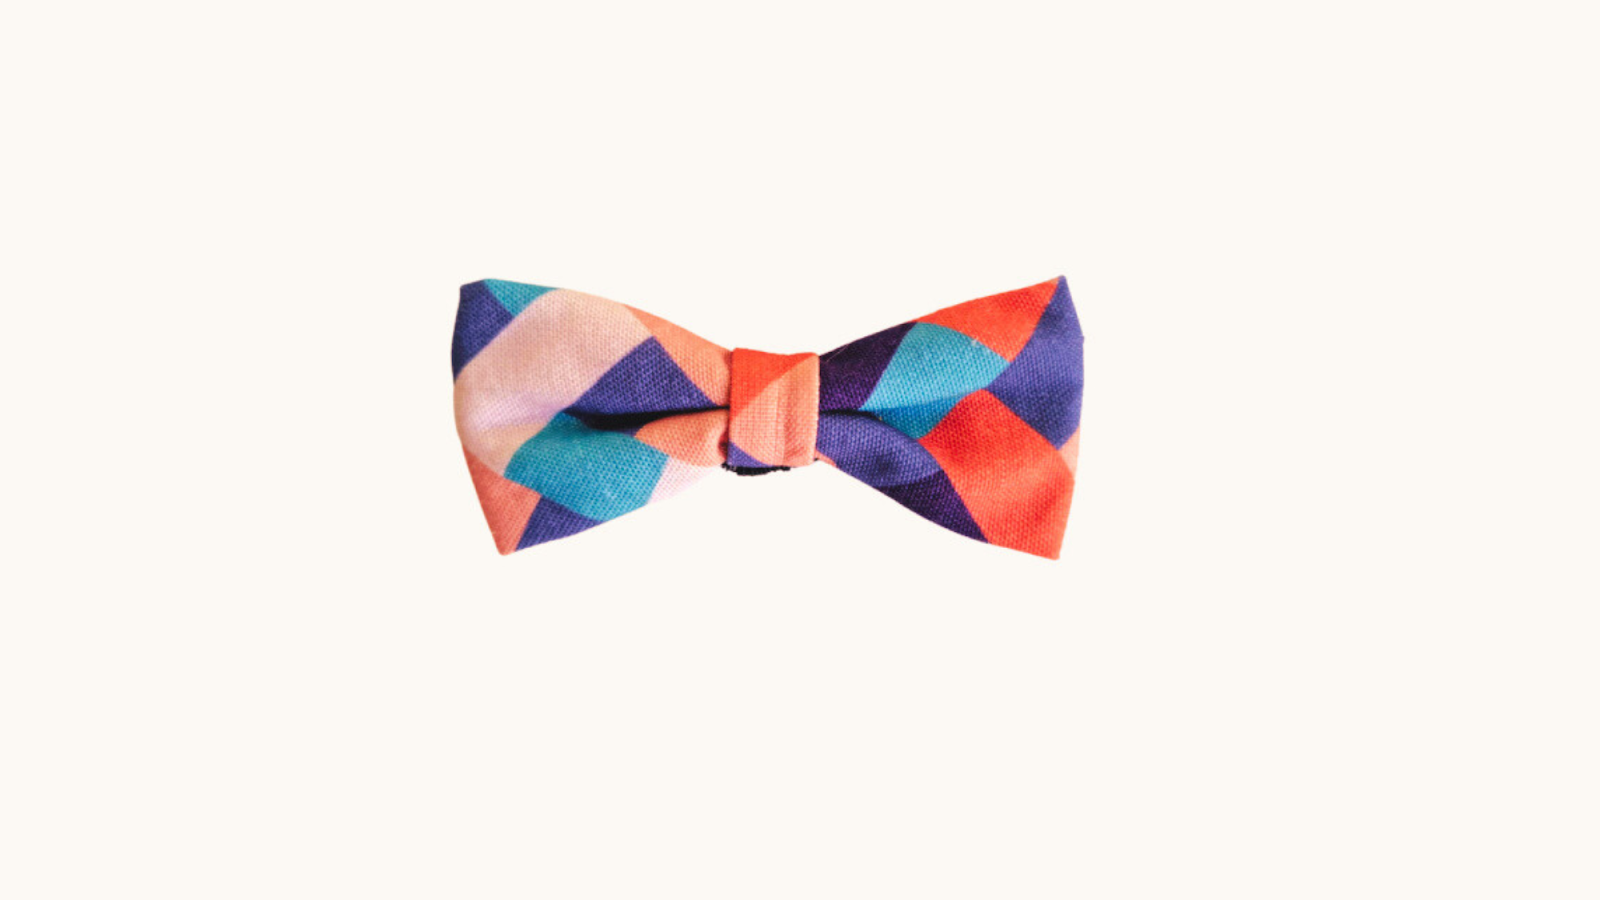
Bow Tie Body:
- Length: 12 inches (30 cm)
- Width: 6 inches (15 cm)
Bow Tie Band:
- Length: 10-12 inches (25-30 cm), depending on the size of your dog’s neck.
- Width: 1 inch (2.5 cm)
If you’re using fusible interfacing, cut it to match the dimensions of your fabric. The interfacing will help the bow tie hold its shape. Attach the interfacing to the wrong side of the fabric, following the manufacturer’s instructions. Understand if the Cane Corso is a high-maintenance dog with this insightful guide.
Step 3: Sew the Bow Tie Body
Fold the Fabric:
- Take the 12×6-inch fabric piece and fold it in half lengthwise, ensuring the right sides (the sides that will face outward) are together.
- Pin the fabric edges together to hold it in place.
Sew Along the Edge:
- Using a sewing machine or needle and thread, sew along the long edge of the fabric with a 1/4-inch seam allowance, leaving both ends open.
- Make sure to backstitch at the beginning and end to secure the seams.
Turn the Fabric Right-Side-Out:
Once sewn, turn the fabric right-side-out by pushing the fabric through one of the open ends. You can use a pencil or a chopstick to help turn the corners neatly. Gently press the fabric with an iron to flatten it.
Create the Bow Shape:
To form the bow tie, gather the middle of the fabric by pinching it together. You can do this by folding the fabric toward the center, or by using a fabric strip to wrap around the middle and secure it.
Step 4: Make the Center Knot
Create the Knot Band:
- Take the small fabric strip (1×10-12 inches) and fold it in half lengthwise, then sew along the long edge to form a small tube.
- Turn the tube inside out, and wrap it around the center of your bow tie, gathering the fabric in the middle to create the classic bow shape.
- Hand-sew the ends of the tube to secure it in place. You can also use fabric glue if you prefer not to sew.
Step 5: Attach the Band to the Bow Tie
The next step is to add the elastic or adjustable band to the bow tie. Discover the best collars for short-haired dogs with these 6 top recommendations.
Elastic Band:
- Cut the elastic to the desired length. It should fit comfortably around your dog’s neck with a bit of stretch.
- Attach the ends of the elastic to the back of the bow tie. Sew each end securely to the sides of the bow tie fabric.
Velcro Strap:
If you prefer a more adjustable option, use Velcro strips:
- Cut two pieces of Velcro (one male, one female) and sew one strip on each side of the bow tie’s band.
- Ensure the Velcro strips align properly so you can easily adjust the fit.
Step 6: Final Adjustments and Pressing
Once you’ve attached the band, take a final look at your bow tie to make sure everything is sewn securely and evenly. Press it once more with the iron for a clean, professional finish.
If you’re using elastic, make sure the fit is comfortable. If the elastic is too tight, trim a bit off; if it’s too loose, sew on a little more elastic to ensure a snug fit.
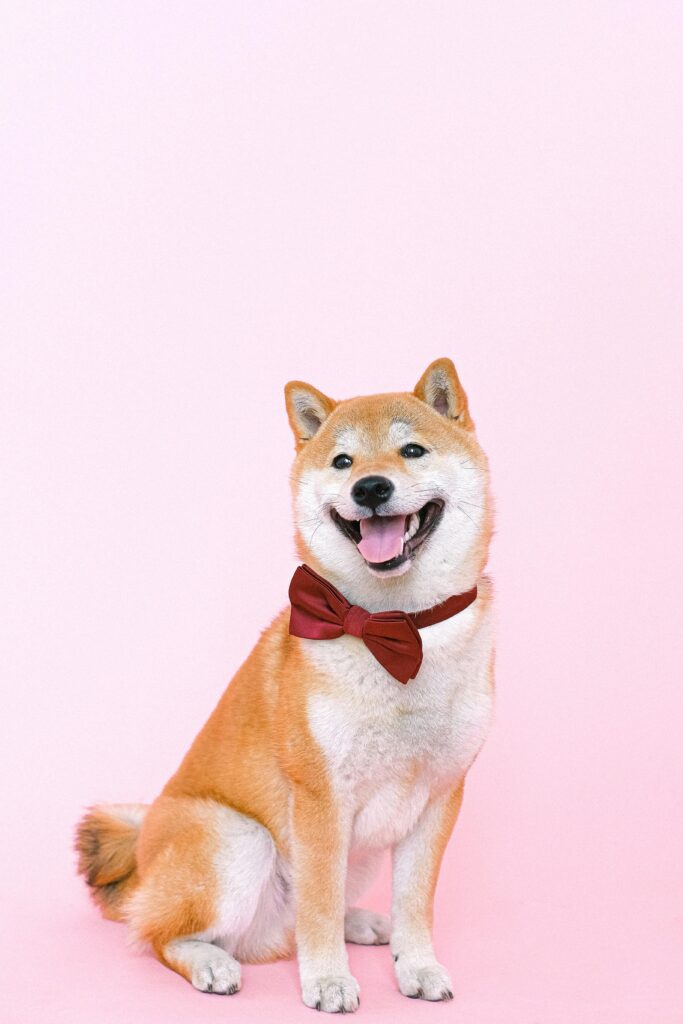
Step 7: Try It On Your Dog
Now that the bow tie is complete, it’s time for your dog to try it on! Gently slip it over your dog’s collar or around their neck, adjusting as needed. Make sure the bow tie is not too tight or uncomfortable. Your dog should be able to move and breathe easily with the bow tie on.
Tips for a Perfect Dog Bow Tie
- Fabric Choice: Choose fabrics that are comfortable against your dog’s skin. Avoid fabrics that may cause irritation, especially if your dog has sensitive skin.
- Comfort and Fit: Ensure the bow tie isn’t too tight around your dog’s neck. It should feel comfortable without restricting their movement or breathing.
- Reinforce the Seams: If you’re concerned about durability, reinforce the seams, especially if your dog is active.
- Decorative Touches: Add a small charm or button to the center of the bow tie for extra personality.
Conclusion
Making a bow tie for your dog is a simple yet rewarding project that can add a personal touch to your dog’s wardrobe. With just a few materials, some basic sewing skills, and a little creativity, you can create a bow tie that will make your furry friend look extra special for any occasion. Whether you’re attending a wedding, celebrating a birthday, or just having fun with your dog, a custom-made bow tie is a perfect way to showcase their personality and style. Learn if it’s bad to leave a dog’s collar on all the time and how to ensure your pet’s comfort.
Hope so, now you know, how to make bow tie for dog. Now that you know the process, it’s time to grab your fabric and get started. Happy sewing!