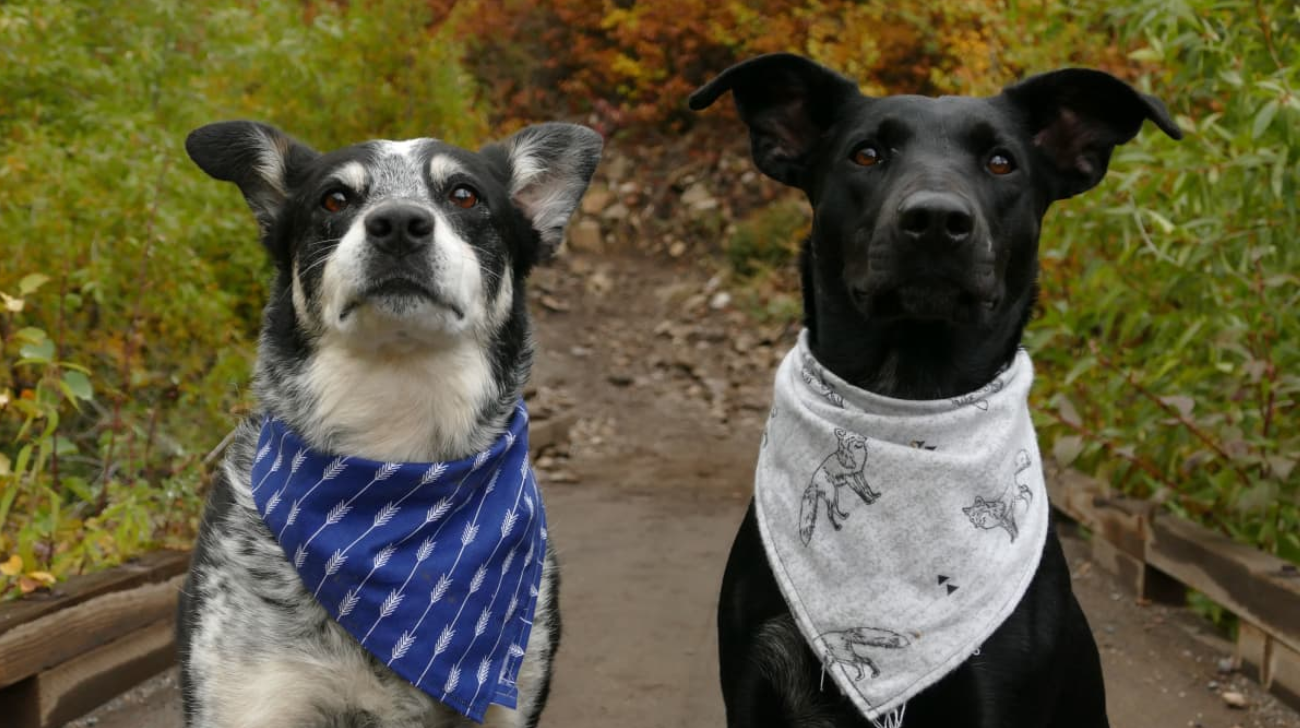
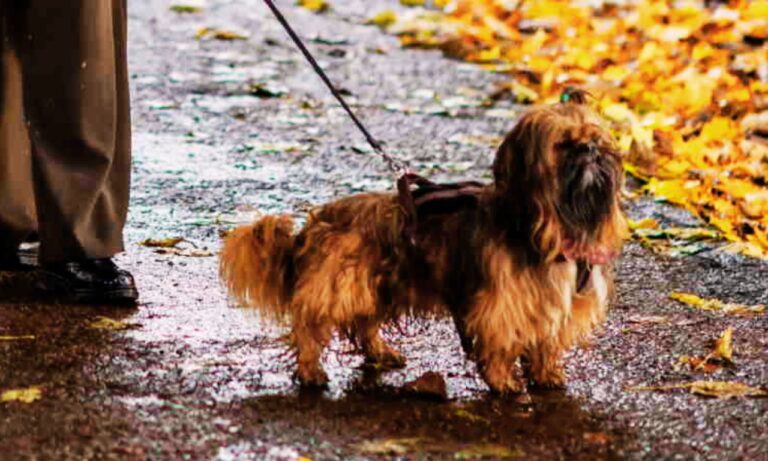
Dog bandanas are adorable, functional, and a fun way to showcase your pet’s personality. But some dogs don’t love wearing them tied directly around their necks. If this sounds familiar, a bandana that slips over your dog’s collar can be the perfect solution! So, how to make dog bandanas for collars? This step-by-step guide will walk you through creating a comfortable, collar-fit bandana that both you and your dog will love.
Here’s everything you need to know about creating this dog accessory, with simple options for both sewing and no-sew methods. For step-by-step instructions on properly fitting a collar on your Bedlington Terrier, visit this comprehensive guide on how to put collars on Bedlington Terrier.
Blog Highlights
ToggleBenefits of a Collar-Fit Dog Bandana
- Secure and Comfortable Fit: Stays attached to your dog’s collar, preventing slipping or shifting for all-day comfort.
- Prevents Skin Irritation: Avoids direct skin contact, reducing friction and irritation compared to traditional tie-around bandanas.
- Easy to Put On and Take Off: Slip it over the collar for quick and stress-free dressing.
- Customization and Style: Personalize your dog’s look with fun patterns and designs, adding extra style without the bulk.
- Convenient for Frequent Changes: Easily swap styles for different occasions or seasons without the hassle of re-tieing.
- Affordable and DIY-Friendly: Create your own collar-fit bandanas at a low cost, offering variety without breaking the bank.
- Lightweight and Non-Restrictive: Keeps your dog comfortable and free-moving with no added weight.
- Easy to Clean: Detach and wash separately for a hygienic, fresh bandana without cleaning the entire collar.
Sewing Method: Step-by-Step Guide to Create a Dog Bandana
Here’s how to make dog bandanas for collars to make a bandana that fits comfortably over your dog’s collar using a sewing machine.
Materials You’ll Need for Sewing:
- Fabric of your choice (lightweight cotton works best)
- Sewing machine (or needle and thread for hand-sewing)
- Scissors or rotary cutter
- Ruler or measuring tape
- Iron and ironing board
- Pins
- Pencil or fabric marker
Step 1: Measure and Cut the Fabric
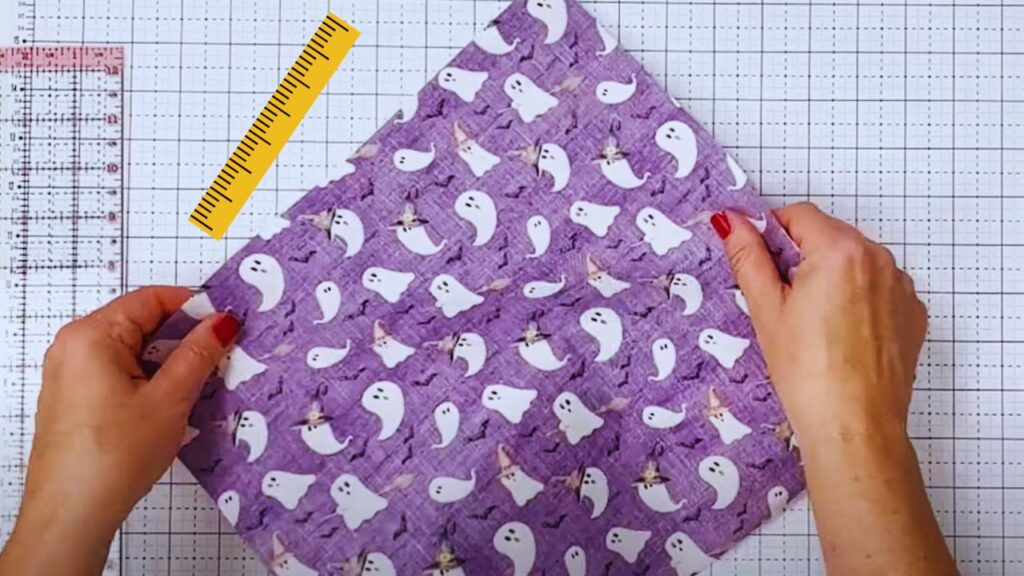
Start by measuring the collar your dog wears. Measure the length and divide by two. This gives you the width measurement for the bandana. For instance, if the collar length is 18 inches, the bandana should be 9 inches wide.
Use a ruler and pencil to mark your measurements on the fabric. Place your fabric on a flat surface and cut it into a square. This piece will be the main body of your bandana. Precision here is key for the best fit. For detailed guidance on ensuring the perfect collar fit for your St. Bernard, check out the Best Practices for St. Bernard Collar Adjustment to keep your dog comfortable and secure.
Step 2: Fold and Hem the Edges
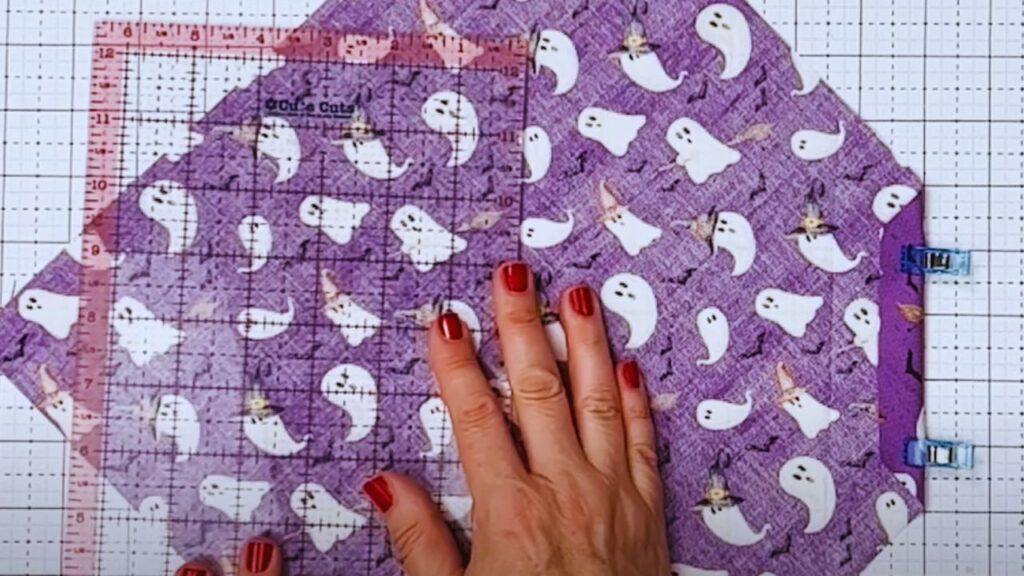
Hemming the edges will keep your fabric from fraying and give the bandana a polished look. Start by folding each edge of the bandana by about 1/4 inch. Press the folds with an iron to keep them in place.
Next, fold each edge under by another 1/4 inch, creating a double hem. This step adds durability. Secure the folded edges with pins, then topstitch along the edges using a sewing machine or by hand. Keep the stitch straight for a clean finish.
Step 3: Make the Collar Pocket
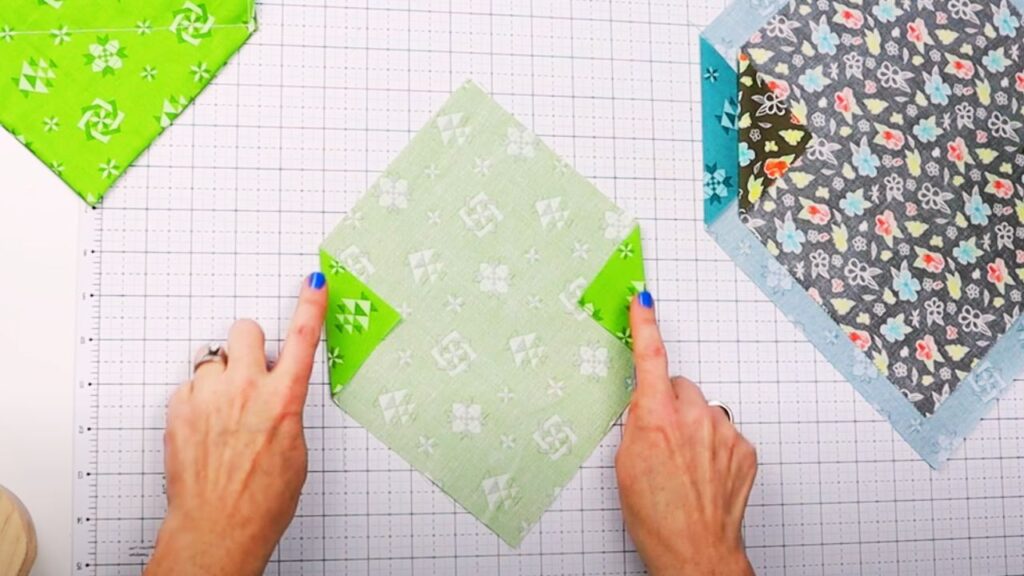
To keep the bandana secure on the collar, create a pocket at the top. Fold over the top edge of the fabric square to make a casing for the collar. Align the top corners carefully, making sure the fabric is even.
Pin the folded fabric to keep it in place. Then, stitch across the top, leaving enough room for the collar to slide through. This pocket will allow the bandana to fit snugly on the collar without slipping.
Step 4: Layer and Sew the Fabric Together
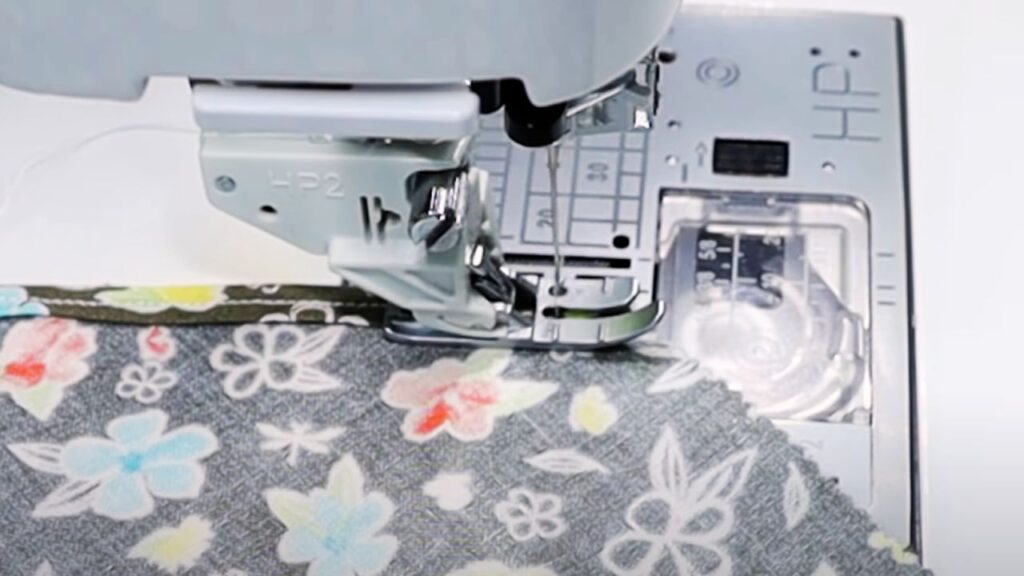
Take two pieces of fabric, aligning them with the right sides facing outward. Layering fabric adds structure to your bandana and allows both sides to display your chosen pattern.
Using a straight stitch, sew along the edges of the fabric, close to each corner, and backstitch at the start and end. This keeps the fabric secure and ensures the bandana will last longer. Make sure your stitches are even and straight for a neat finish.
Step 5: Fold the Fabric into a Triangle Shape
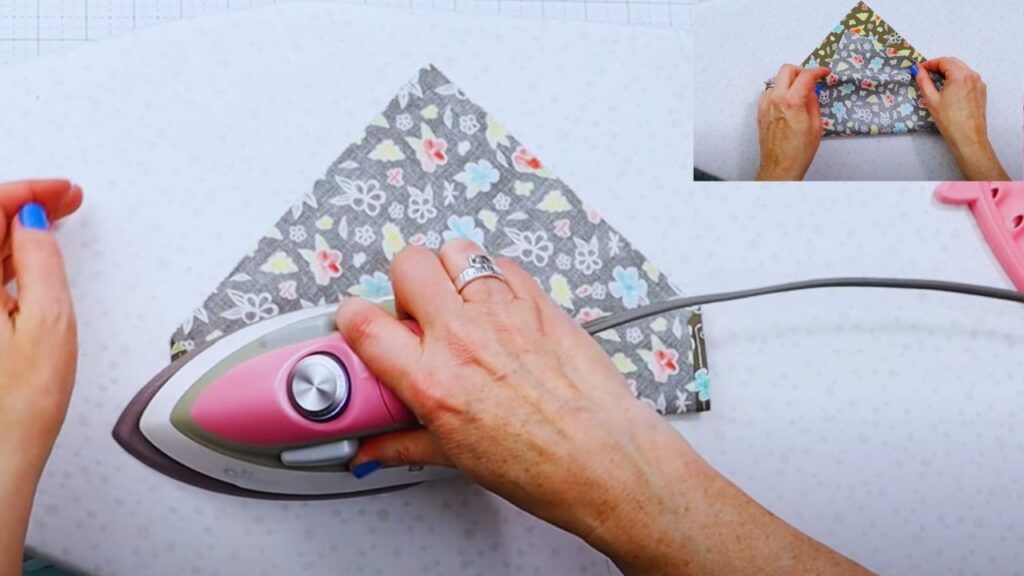
Fold your square of fabric in half diagonally to form a triangle. Press the fold with an iron to keep the fabric flat and smooth. This fold will be the main shape of your bandana, with the pocket at the top for the collar.
Pressing the fold creates a sharp triangle shape, which makes sewing easier and gives the bandana a finished appearance.
Step 6: Sew the Final Seam
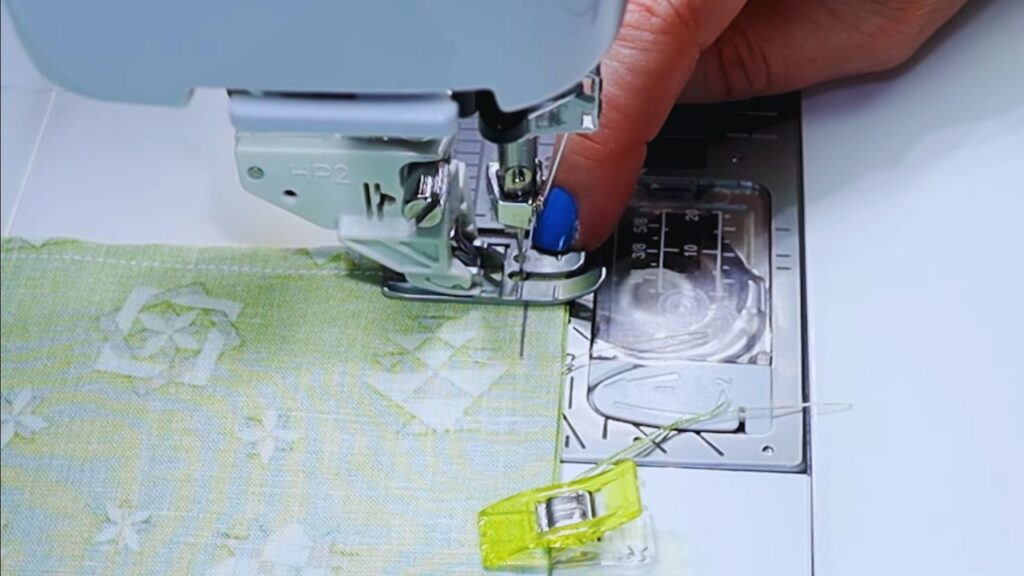
With the fabric folded, it’s time to finish the bandana by sewing the final seam. Starting at one corner, sew along the open edges with a 1/4-inch seam allowance. This seam will connect the two folded edges and keep the triangle shape secure.
Backstitch at the start and end to lock in your stitches. Once sewn, turn the bandana inside out through the collar pocket. The result is a sleek, collar-friendly bandana.
Step 7: Mark and Sew the Collar Casing
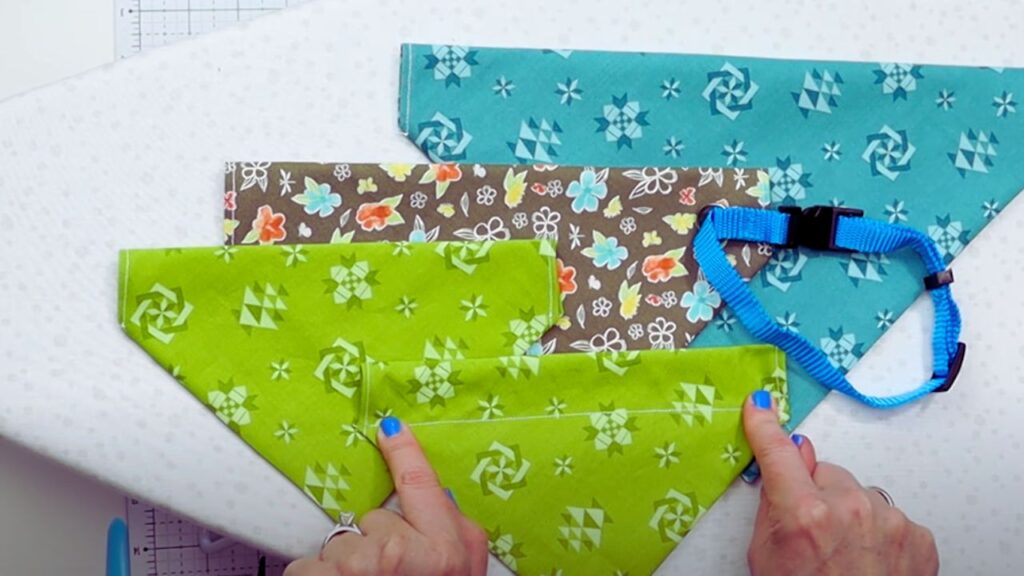
Now, create the collar casing where the collar will slide through. Use a ruler and pencil to mark a straight line across the top of the bandana, parallel to the folded edge. Stitch along this line to secure the collar pocket.
This casing will keep the collar securely in place. Once complete, give your bandana a final press with an iron for a crisp look.
Your sewn dog bandana is now ready to wear! Slide it onto your dog’s collar, and you’re all set.
No-Sew Method: Quick and Easy Dog Bandana
If sewing isn’t your thing, don’t worry. The no-sew option is just as stylish and requires only a few steps.
Materials Needed for No-Sew Method:
- Fabric square (cotton or lightweight material works best)
- Scissors
- Measuring tape
No-Sew Step-by-Step Instructions
1. Cut a Square of Fabric
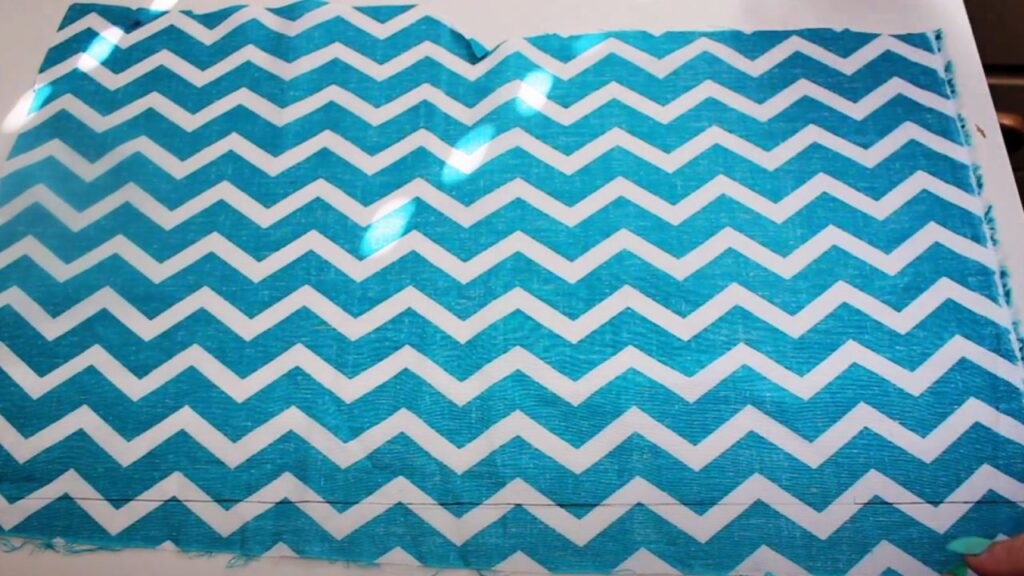
Measure and cut a square of fabric large enough to fit comfortably around your dog’s neck. Use a measuring tape or collar to gauge the correct size. A rough estimate: around 15 inches square for small dogs and 20 inches for larger dogs.
2. Fold into a Triangle
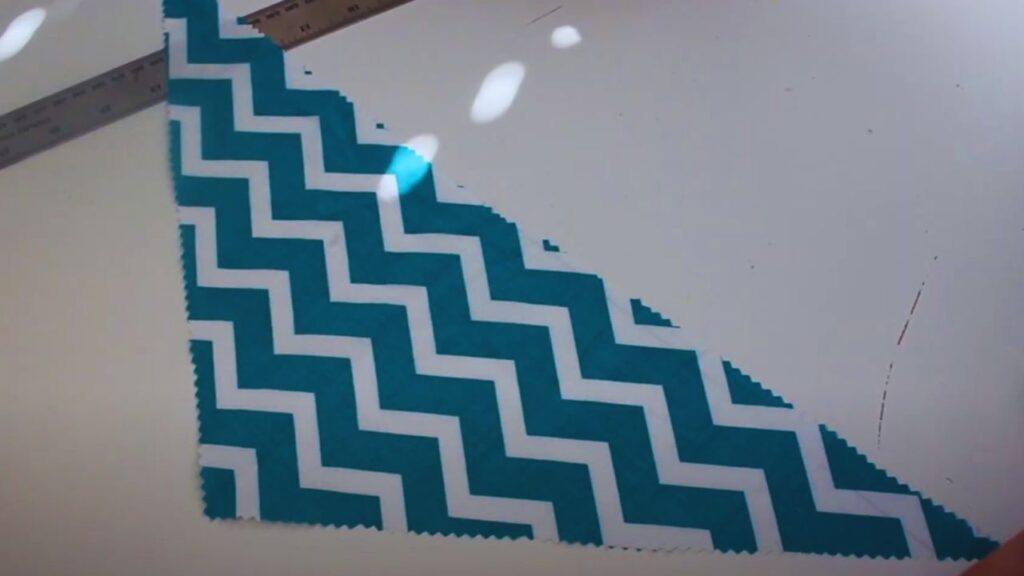
Fold your fabric square in half diagonally to form a triangle. Ensure the sides align evenly for the best fit.
3. Tie Around Your Dog’s Neck
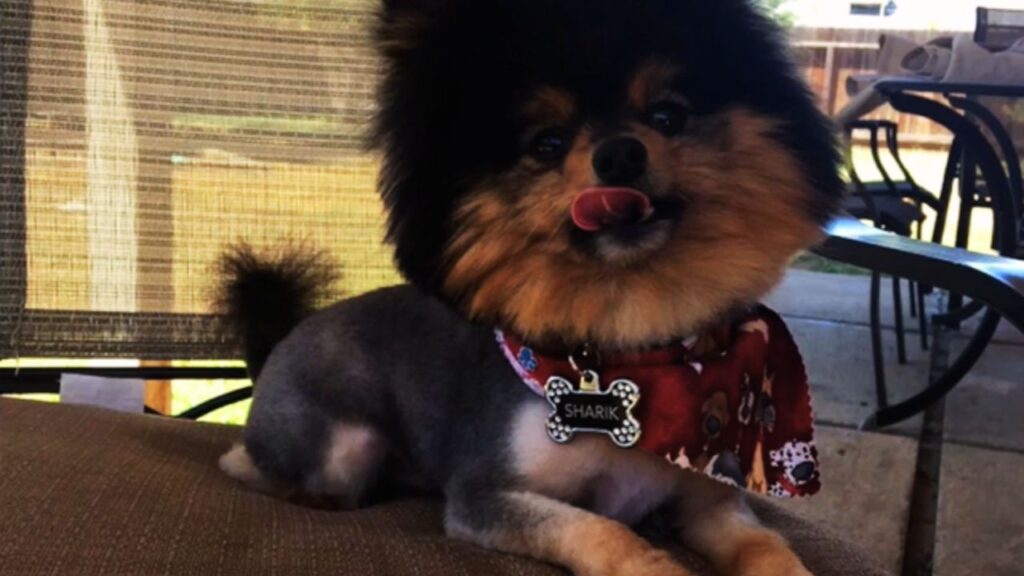
Gently tie the bandana around your dog’s neck, leaving enough room for comfort. Avoid tying it too tightly—there should be space to fit two fingers between the bandana and your dog’s neck.
This no-sew bandana is perfect for a quick, easy look that’s still stylish and functional. You can change colors and patterns frequently without hassle.
For expert tips on how to fit a collar on a Belgian Shepherd, this guide offers simple steps to ensure your dog’s collar fits securely and comfortably.
Choosing the Right Fabric and Sizing for Your Dog’s Bandana
When making a dog bandana, fabric choice is important. Lightweight fabrics like cotton or blends are ideal because they’re breathable and comfortable for your dog. Avoid fabrics that might irritate your dog’s skin, like rough or itchy materials.
Here’s a simple sizing guide based on your dog’s collar length:
- Small dogs: Use around a 12–14 inch square fabric piece.
- Medium dogs: Go for a 15–18 inch square.
- Large dogs: Use 20 inches or larger for bigger breeds.
These measurements work for both sew and no-sew methods, but feel free to adjust based on your dog’s specific collar size. Ensure your Newfoundland’s comfort and security with expert tips on how to ensure a safe collar fit for Newfoundland.
Make Your Dog Look Stylish and Comfortable using Bandana:
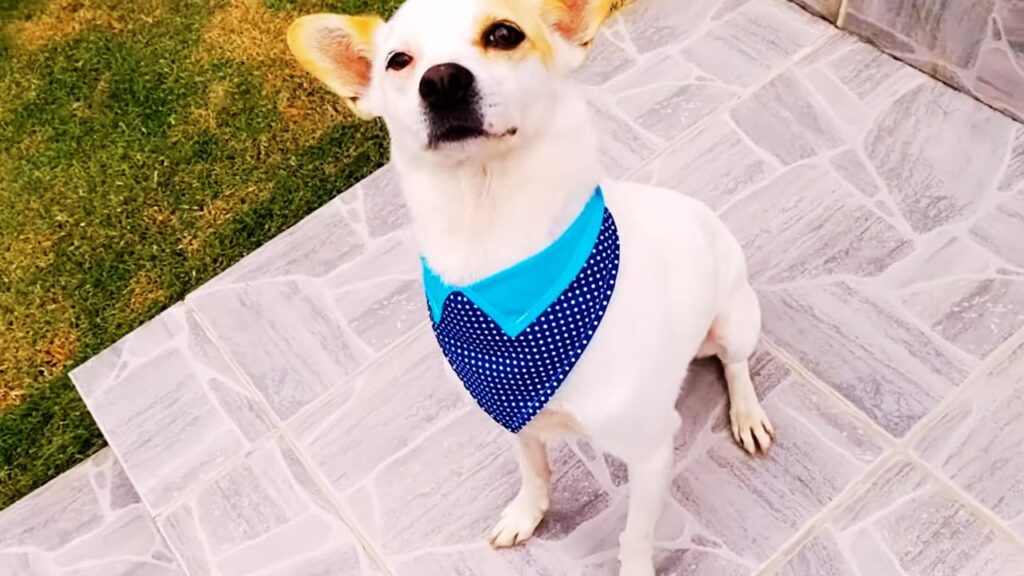
Now that you know how to make a dog bandana that fits over a collar, you’re ready to get started. Whether you’re an experienced sewer or prefer no-sew crafts, these methods offer something for everyone.
With a little time and a few materials, you can create a stylish, comfortable accessory that’s practical and easy for everyday wear. Plus, your dog will look adorable and feel comfortable, too! So gather your supplies, follow these steps, and make your pet’s new favorite accessory today.
Wrapping Up:
Making a collar-fit dog bandana is a simple, rewarding project that lets you customize your pet’s look while ensuring their comfort. With both sew and no-sew methods, you can easily make a bandana that slips over their collar for a secure, non-restrictive fit. Hope so, now you know how to make dog bandanas for collars.
Whether you’re sewing for durability or going for a quick, no-sew option, this guide covers all you need to know—from materials and sizing tips to step-by-step instructions. Now, gather your supplies, get creative with fabric choices, and enjoy crafting a stylish bandana that makes your furry friend look fabulous! Discover the ideal fit by learning what size collar for Newfoundland dog to ensure your pet’s comfort and safety.

