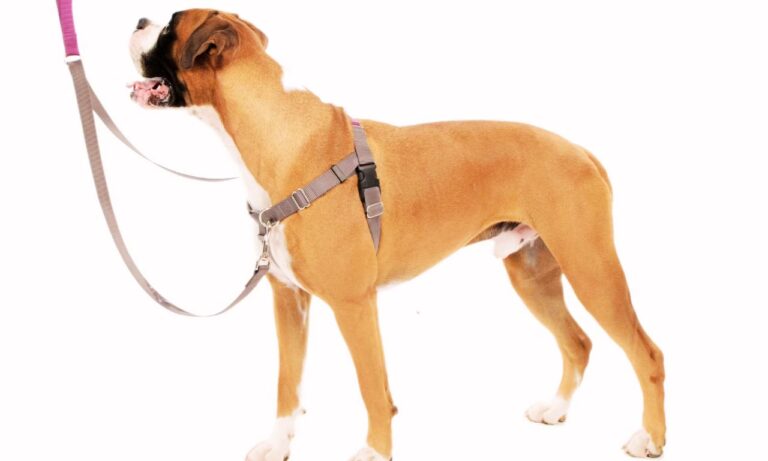
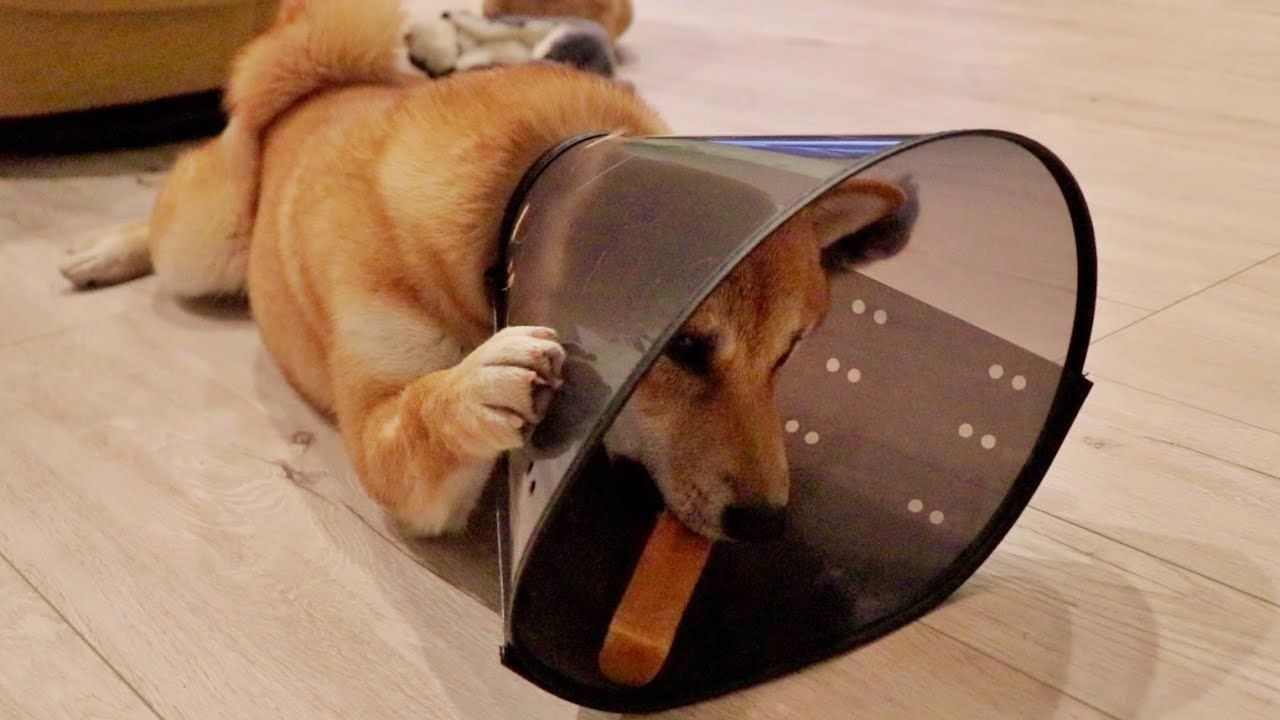
Cone for dogs, often referred to as a “cone” or “Elizabethan collar,” is an essential tool used to prevent dogs from licking, biting, or scratching their wounds after surgery or injury. While it may seem like a simple object, using the cone correctly is crucial to your dog’s recovery. Understand if the Cane Corso is a high-maintenance dog with this insightful guide.
This guide will walk you through the steps of putting on a cone, the various types available, how to ensure your dog’s comfort, and when to remove the cone for optimal healing. We’ll also share important statistics and measurements to help you make the right choices for your dog’s care. So, how to put on a cone on a dog?
What is a Cone for Dogs?
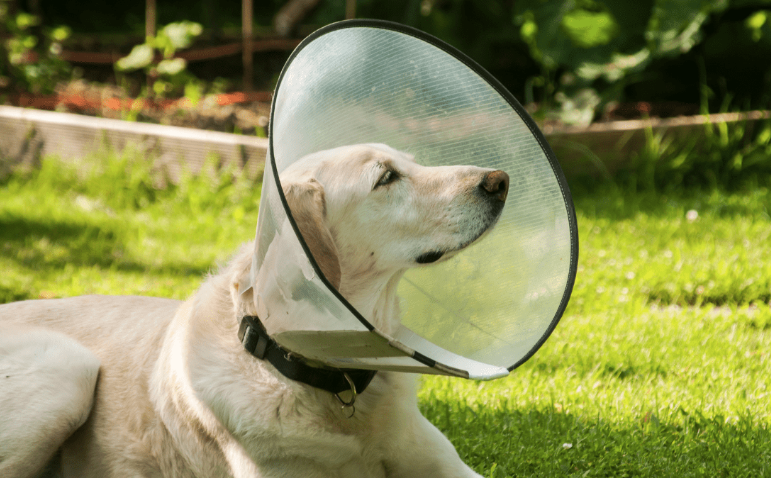
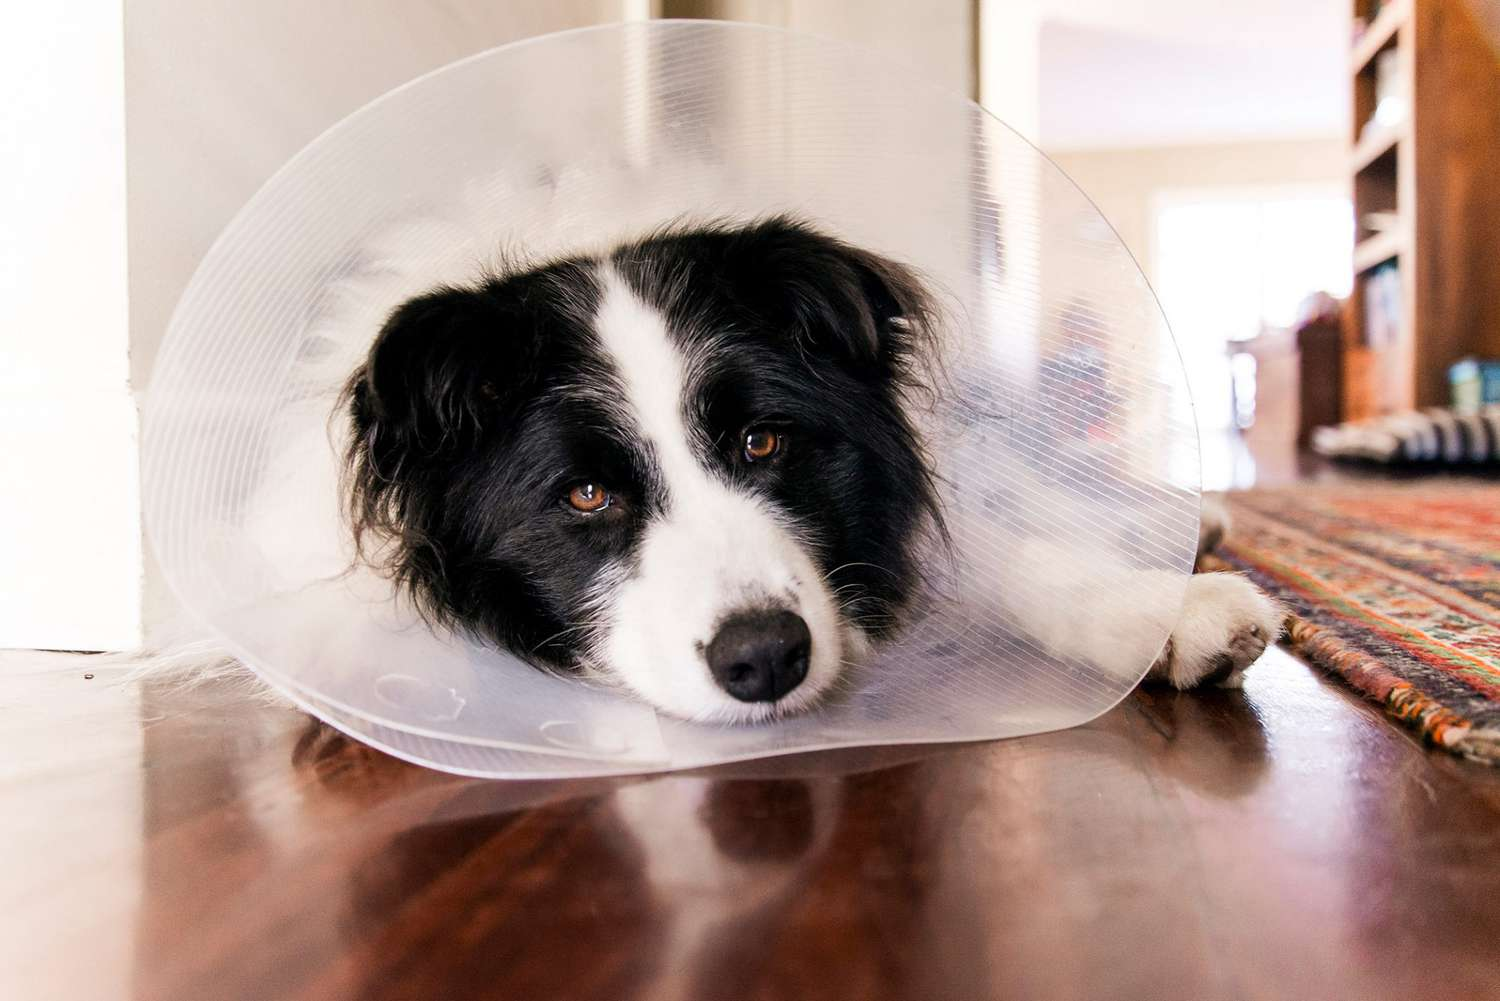
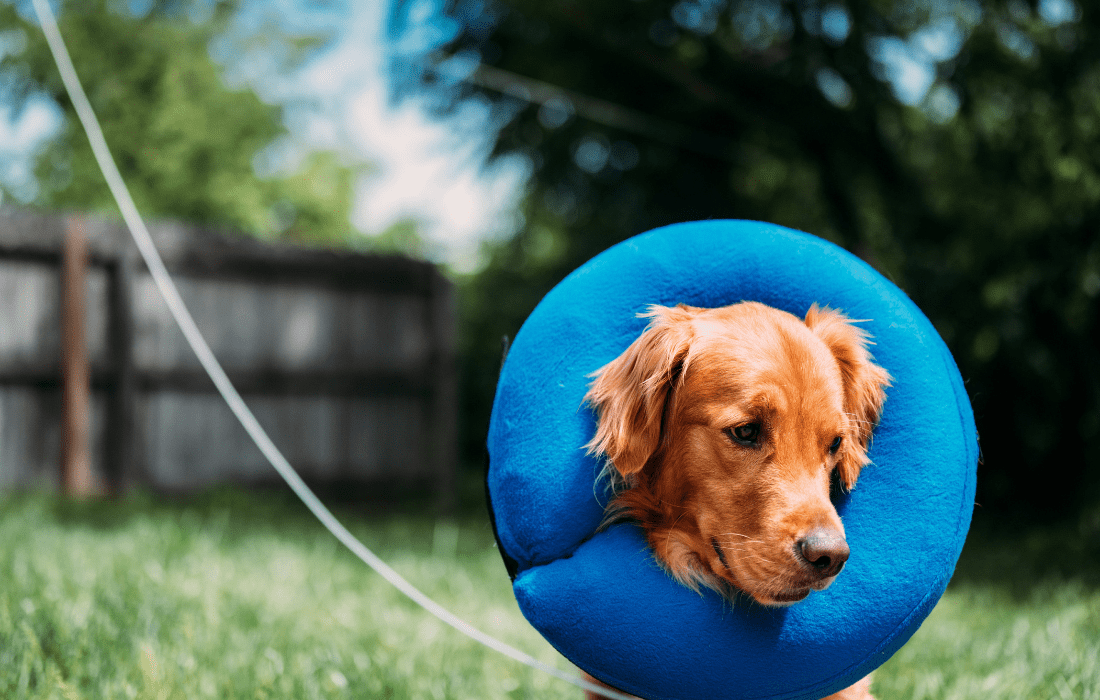
Cone for dogs is a protective collar designed to prevent a dog from reaching and licking or biting wounds, surgical sites, or injuries. These collars are typically cone-shaped and made of a variety of materials, including plastic, fabric, or inflatable options. They are essential in ensuring that your dog’s healing process is not hindered by self-inflicted injuries. Discover the best collars for short-haired dogs with these 6 top recommendations.

The use of cones is widespread in veterinary medicine, especially after surgery. According to a 2018 study by the American Veterinary Medical Association (AVMA), over 75% of pets who undergo surgery are prescribed cones as part of post-surgical care to ensure proper recovery.


Quick Fixes for Common E-Collar Issues
Why Dogs Need Cone
After surgery or injury, dogs often have the instinct to lick or bite their wounds, which can lead to complications such as infection, delayed healing, or pain. The e-collar, by restricting the dog’s access to the affected area, helps to prevent this behavior.
Check out the best dog collars for Border Collie to find durable, stylish, and comfortable options for your active dog. Here are a few important reasons why your dog may need cone:
- Prevents Infection: Constant licking or biting can introduce harmful bacteria to the wound.
- Facilitates Faster Healing: By keeping your dog from aggravating the injury, the e-collar allows the wound to heal properly without interference.
- Promotes Comfort: While dogs may initially find the e-collar uncomfortable, it ensures they can heal without the stress of further injury.
- Prevents Further Injury: For dogs that are prone to licking or scratching at surgical sites, the cone can prevent them from accidentally reopening the wound.
Step-by-Step Guide on How to Put on a Cone on a Dog
Properly placing the e-collar on your dog is crucial for both comfort and effectiveness. Here is a step-by-step guide to help you do this correctly:
Step 1: Prepare the E-Collar
Before placing the e-collar on your dog, ensure that you have selected the right size and type. E-collars come in various materials (plastic, soft, inflatable) and are available in several sizes. For a step-by-step guide on how to wear collar to an Affenpinscher, check out this detailed article to ensure a comfortable and secure fit for your dog.

- Sizing: The e-collar should extend past your dog’s nose, preventing it from licking its wounds. The collar should not be so long that it touches the floor when the dog is standing.
- For small dogs, a collar size of around 4 to 6 inches in length may be appropriate.
- For medium to large dogs, a collar size of 8 to 12 inches is often suitable.
- Extra-large dogs may need a collar size of 14 to 16 inches or larger.
- Material:
- Plastic e-collars are rigid and durable but can be uncomfortable for some dogs.
- Soft e-collars made of fabric or inflatable materials may be more comfortable and allow for better movement but still provide adequate protection.
Step 2: Calm Your Dog
Before attempting to put the collar on, take a moment to calm your dog. Dogs can become anxious when they see or feel the e-collar, so patience is key.
- Create a Calm Environment: Ensure you are in a quiet, distraction-free environment. If possible, have another person assist by gently holding your dog still or offering treats for comfort.
- Use Positive Reinforcement: Reward your dog with praise and treats after successfully putting on the e-collar.
Step 3: Place the E-Collar Around Your Dog’s Neck
Now it’s time to put the e-collar on your dog.

- Slip the Collar Over the Head: Start by placing the e-collar over your dog’s head and pulling it down to rest around the neck. Ensure the wider end of the cone is facing outward (away from the dog’s body).
- Check the Fit: The collar should be snug around the neck but not tight. You should be able to slip a finger between the collar and your dog’s neck. If the collar is too tight, it may cause discomfort or restrict your dog’s breathing.
Step 4: Adjust the Fit
Most e-collars have adjustable straps that allow you to secure the collar in place. Ensure the collar is positioned correctly to prevent your dog from reaching the affected area.

- Straps or Velcro: Tighten the straps or Velcro around your dog’s neck, but don’t over-tighten. You should be able to fit two fingers comfortably between the collar and the neck.
- Comfort: If you notice any discomfort (like the dog scratching or pawing at the collar), loosen it slightly, but ensure it still provides sufficient coverage to prevent licking.
Step 5: Ensure Your Dog Can Eat and Drink
One of the most common issues with e-collars is that they can make eating or drinking difficult for your dog. Here’s what you can do to make sure your dog is still able to consume food and water:
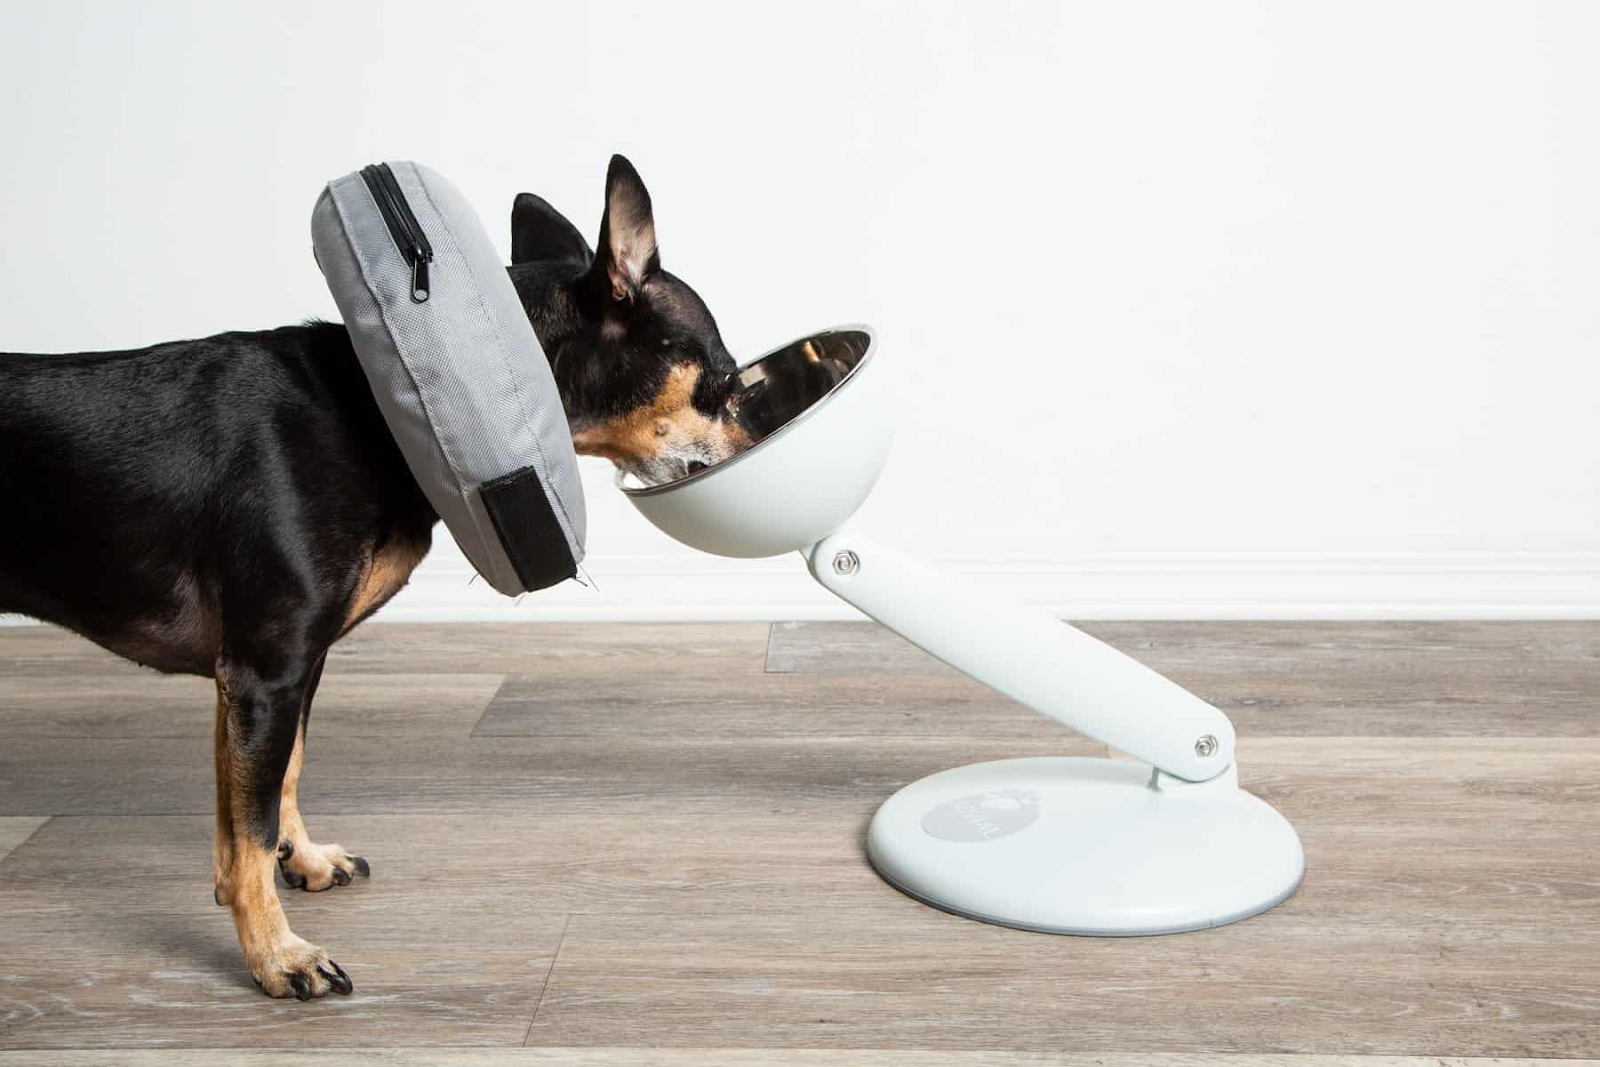
- Elevate the Bowls: Raise your dog’s food and water bowls to make it easier for them to reach.
- Check the Cone’s Length: Ensure the cone is not too long, which can hinder your dog’s ability to eat or drink.
Step 6: Monitor Your Dog’s Reaction
After the e-collar is on, closely monitor your dog’s behavior.
- Watch for Discomfort: If your dog seems particularly uncomfortable, check if the cone is too tight or rubbing against the skin. Adjust accordingly.
- Monitor the Dog’s Movement: Allow your dog to move around and see if the collar hinders their ability to walk, play, or sleep.
The American Staffordshire Terrier’s coat type is short, sleek, and easy to maintain with regular brushing.
Tips for Comfort and Success with E-Collars
While the e-collar is a necessary tool for your dog’s recovery, it doesn’t have to be a stressful experience. Here are some tips to make the process smoother for both you and your dog:
- Use Positive Reinforcement: Praise your dog every time they adjust to the collar, especially when they don’t try to remove it.
- Provide Extra Comfort: Some e-collars come with padded edges or soft covers to help alleviate discomfort. Consider using these for sensitive dogs.
- Give Breaks: If appropriate, allow your dog to have short, supervised breaks from the collar (for example, during mealtime), but never leave your dog unsupervised without the cone if they have access to their wounds.
- Use an Alternative Collar: If the plastic cone proves too uncomfortable, consider using inflatable collars or soft fabric cones, which can offer more flexibility and comfort.
How Long Should Your Dog Wear the E-Collar?
The amount of time your dog will need to wear the e-collar depends on the nature of the injury or surgery. On average, dogs need to wear the collar for about 10 to 14 days. Some dogs may require a longer period, depending on how well the wound is healing.
- After Surgery: Most surgical wounds require the e-collar for at least 7-10 days, and sometimes longer if complications arise.
- After Skin Infections or Allergies: The e-collar may be needed for several weeks to prevent further irritation.
When to Remove the E-Collar
Only remove the e-collar when your veterinarian confirms that the wound is fully healed and there is no longer any risk of your dog licking or scratching the area. The best collar size for an American Staffordshire Terrier ensures a comfortable and secure fit for your dog during walks and training.
Conclusion: The Importance of E-Collars for Dog Recovery
Cone for dogs is an essential recovery tool that can prevent infections and promote healing after surgery, injury, or skin conditions. Properly fitting and using the e-collar ensures that your dog has the best chance of a swift and successful recovery.
While your dog may initially find the cone uncomfortable, it is a necessary step to safeguard their health. To find out the what size collar for an Affenpinscher, ensure you measure your dog’s neck correctly for a perfect fit.
By following the step-by-step guide in this article, you can put the cone on your dog correctly, ensuring that it fits snugly and doesn’t cause unnecessary distress. Monitoring your dog’s behavior and adjusting the collar as needed will ensure they are comfortable and that the healing process progresses smoothly. Hope so, now you know how to put on a cone on a dog.